Welcome to your January 2023 Dream Wardrobe.
UK SIZES 16-30

Your first Dream Wardrobe of the year!
We are very excited to have teamed up with By Hand London, for a very special Dream Wardrobe for you this month.
It’s been 10 years since I launched Fabric Godmother as a business rather than just a hobby, and at the same time 10 years ago, By Hand London launched their first dressmaking patterns.
To celebrate this incredible milestone we have paired one of our prints with a beautiful By Hand London pattern.
To learn more about the journey both of these businesses have been on, do come and visit our exhibition at The Stitch festival in March.
https://www.thestitchfestival.co.uk/fabric-godmother-by-hand-london/
We’ve also teamed up with The Stitch festival to offer you a special code to save money on your ticket.
Code: FG23
T&Cs: Discount codes gives £2 off standard advance adult/ concession tickets. Offer not valid on VIP, child, or group tickets and on Sunday 26th March. Transaction fee applies per transaction. Offer expires 11.59pm Wednesday 22nd March.
About the fabric:
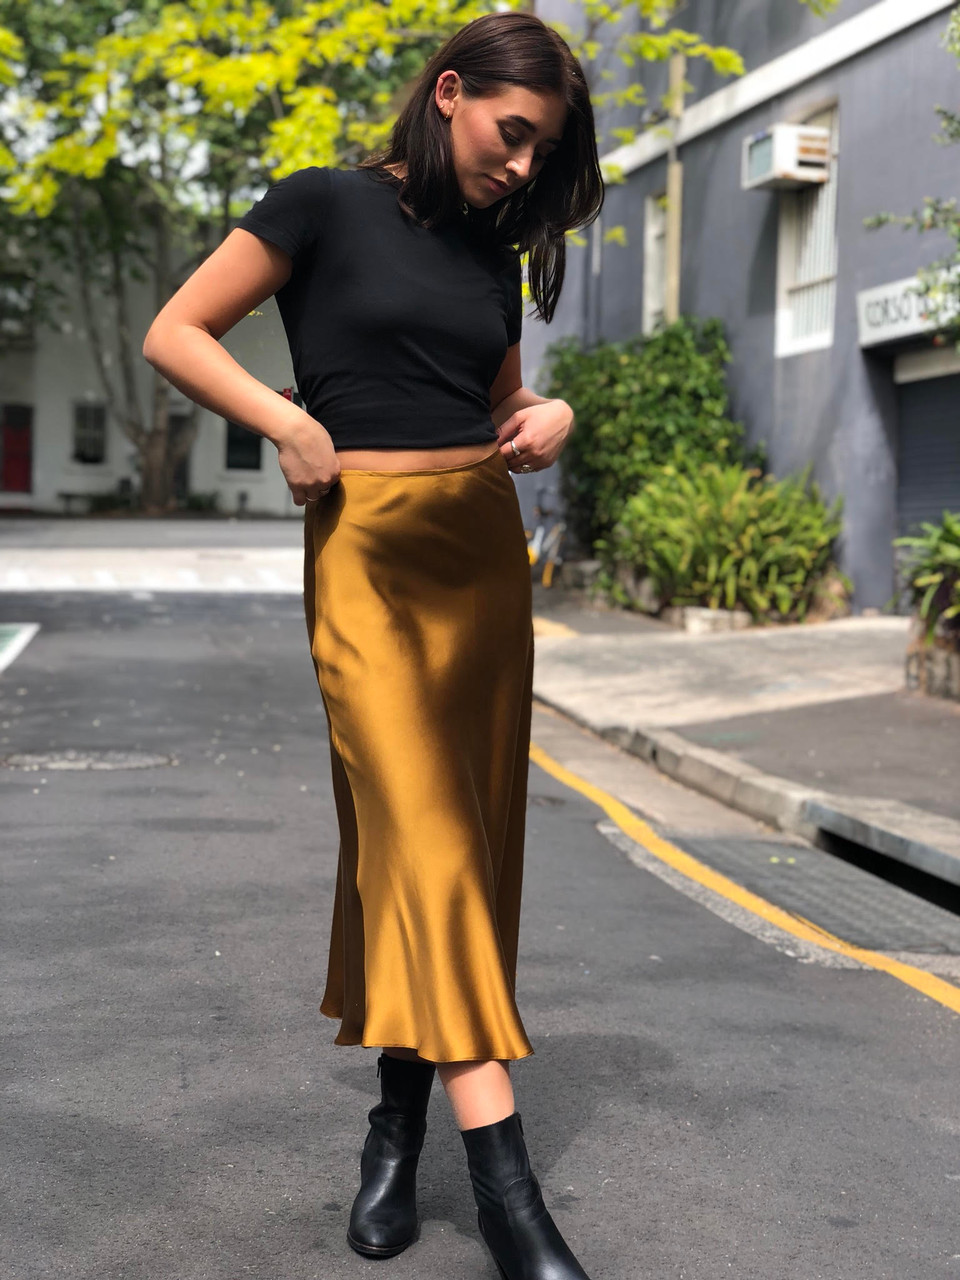
Swooning hearts in printed onto ECOVERO™ viscose crepe. I love the soft, warm handle of this fabric and this heart print is part of our Valentine's collection and I really love it!
We have included enough of the fabric for the Sarah blouse pattern, but you could also try these patterns:

Bella Loves Linda Dress
Tessuti Evie Bias Skirt
I always recommend that you pre-wash your fabric. For this ECOVERO™ fabric, we washed it on a delicate cycle at 30 degrees.
When sewing this fabric we highly recommend using extra fine pins and Microtex machine needles to prevent pulling the fabric.
How to use up your scraps…
The scraps from this product would make the sweetest bow scrunchie, or an eye mask as it is so soft. You could also make some love heart lavender bags to store with your clothes to keep them fresh.
About the pattern:
Sarah is no ordinary shirt, feminine and drapey, yet chic and polished. Sarah is a button-down swing shirt with plenty of ease that clings and skims in all the right places. Mix and match from long, billowy sleeves or short cuffed sleeves, a soft pussy bow necktie or a classic collar.
Click here for the pattern instructions.
(PLEASE NOTE DREAM WARDROBE ONLKY INCLUJDES THE SHIRT OPTION)
Notions required:
- Matching thread (we have sent you a reel of the Gutermann rPET thread made entirely from recycled plastic bottles)
- 50cm lightweight fusible interfacing
- 10-15 buttons, approx 1-2cm in diameter (I used these)
- 2 pairs of poppers, snaps, buttons or hooks and eyes for the V1 cuff (although I used buttons)
I think the Swooning hearts is the perfect match for this pattern, you could also use this pattern and make a version in one of the following fabrics

Amour Floral Viscose Jacquard

Cilla Viscose Crepe - Multi
About your gift:
Another original Jenerates idea!
“A hot hemmer is so useful, but I've never found one I like. That got me thinking, why not make one in silicone? It's firm enough to work with even bouncy wool and it's heat resistant to 230°C. Plus it doesn't distort with steam. You can even use it under the edge of fabric when ironing on fusible interfacing; the glue won't stick to the silicone. And if you're using a sleeve ham, it will hug the curve on that too.
One side has a gentle curve, the other is straight. Both are marked with small holes at 0.5, 1, 2 and 3 cm to let you mark your fabric for super-accurate placement. Plus, you can use the holes to pin through the hemmer without damaging it.
There are two corner options as well, to help with pressing curves.”
#fgdreamwardrobe
Want to share your Dream Wardrobe? Use the hashtag #fgdreamwardrobe and share your unboxing and final makes on social media.
Happy sewing, Josie xxx
By Hand London - Sarah Blouse - Naomi's sewing tips
Prewash fabric
I found a tiny bit of shrinkage after washing a 10cm swatch at 30°C.
Ironing
I used a medium heat setting on my iron and a little steam.
Choosing a View
I made the blouse version with a collar and long sleeves. The blouse can be made without
the collar stand but I made the collar with a stand.
Cutting Out
This is a delicate fabric and can be prone to pulls if not handled carefully. I used very sharp,
fine pins to avoid snags and where possible, I kept the pins inside the seam allowance. The
fabric can shift quite a lot so I cut on a single layer. I lined the fabric edges up with the side
of the table to ensure it was straight.
Interfacing
For the pieces that needed interfacing, I cut around those pieces a little larger, interfaced
and then cut the pattern piece. This makes it much easier to cut smaller pieces accurately.
The pattern suggests interfacing the collar but I also interfaced the cuffs and button placket.
Alterations to the pattern
I didn’t make any alterations to the pattern.
Transferring pattern markings
I transferred all notches. When marking the fabric throughout, I used a white chalk pen on
the black and a black friction pen on the red so the markings were more visible.
Making up the garment
I used a microtex needle which is very sharp and perfect for delicate fabrics.
Sewing the yoke
When sewing a yoke, the three layers of seam allowance can be bulky, so I graded the
seams. This is where you cut each layer to be a different width. The layer that will be facing
out is trimmed shorter and wider as you go backwards. Duck-billed appliqué scissors are
perfect for doing this.
It can be difficult to picture what it should look like when the shoulder seams are pinned
and the blouse inside the yokes so I have included a photo.
Finishing seams
The instructions advise sewing the sleeves and side seams and then pressing the seams
open and overlocking. I find it much easier to finish the edges prior to sewing the seams.
Cuffs
The pattern advises sewing up the sleeve and then attaching the cuff binding/placket but I
attached the binding prior to sewing up the sleeve underarm as it is easier to lay it flat. Also,
I pressed one long side of the binding in 6mm prior to attaching the other long side so it was
easier when I sewed on the other side.
I added an extra step of sewing a little triangle (as pictured) on the inside, at middle of the
binding. This allows the binding to sit flatter as pictured below. When attaching the cuff,
one placket with face in and the other out, as pictured.


To create sharp points on the cuff I used a technique of folding the corners, rather than
cutting the corner at an angel. This avoids the fabric fraying at the corners. I folded the seam
to one side and held if flat to one side as I turned the cuff to the right side. I then gently
eased the corner out with a point turner.


I finished the cuff with a slip stitch on the inside as I find it gives a neater finish. When
removing the gathering stitches, it is important not to pull too hard and ease out gently to
avoid pulls in the fabric.
Button placket.
I used a little fabric glue to fold the buttons stand in place once folded as I find it can shift a
little and create puckers. This holds it in place really well and avoids pin marks.
Collar
To get really accurate points on the collar tips, as I get close to sewing the tip, I reduce my
stitch length to 1. This allows me to hit the point more accurately before pivoting with my
needle down. Marking the stitch line and pivot point can really improve accuracy too.
I use the same technique when sewing the curve of the collar stand.
I graded the seams of the collar in the same way as before. I attached the inside of the collar
stand with a slip stitch, just like the cuffs.
Button holes
My advice for button holes is not to do them late at night or when you might be rushing.
This fabric is delicate and you do not want to be unpicking a button hole in this fabric. If you
do have to unpick one, use a very sharp unpicker, lots of light and work into the back of the
button hole only, gently easing out the stitches from the front with a tweezers. The key here
is patience!
I marked mine with a combination of white pencil and black friction pen as mentioned
before. The pencil rubs off and the pen is removed with the heat of the iron.
The pattern advises using press studs on the cuffs but I used a button. To allow a little more
room in the cuff, I used a loop fasting instead of a button hole. The technique I used was to
create two double thread loops and form knots all along the length of the loop.
Professor Pincushion has a great YouTube tutorial of this method.
https://www.youtube.com/watch?v=-6YeXCqy-HA
Hem
Finally, when pressing the hem, I used a hot hemmer but pressed in smaller amounts around the curves to an even hem.
Additional Resources
By Hand London have a fantastic set of well illustrated instructions on their website in their ‘sewalongs ’section.