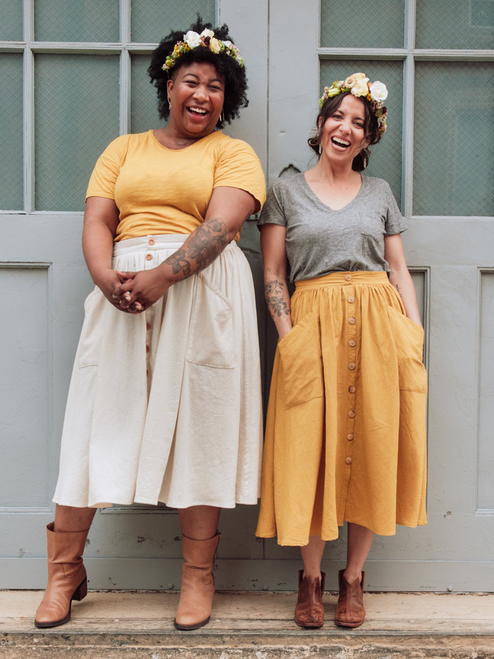
Welcome to your March 2023 Dream Wardrobe.
UK SIZES 6-30
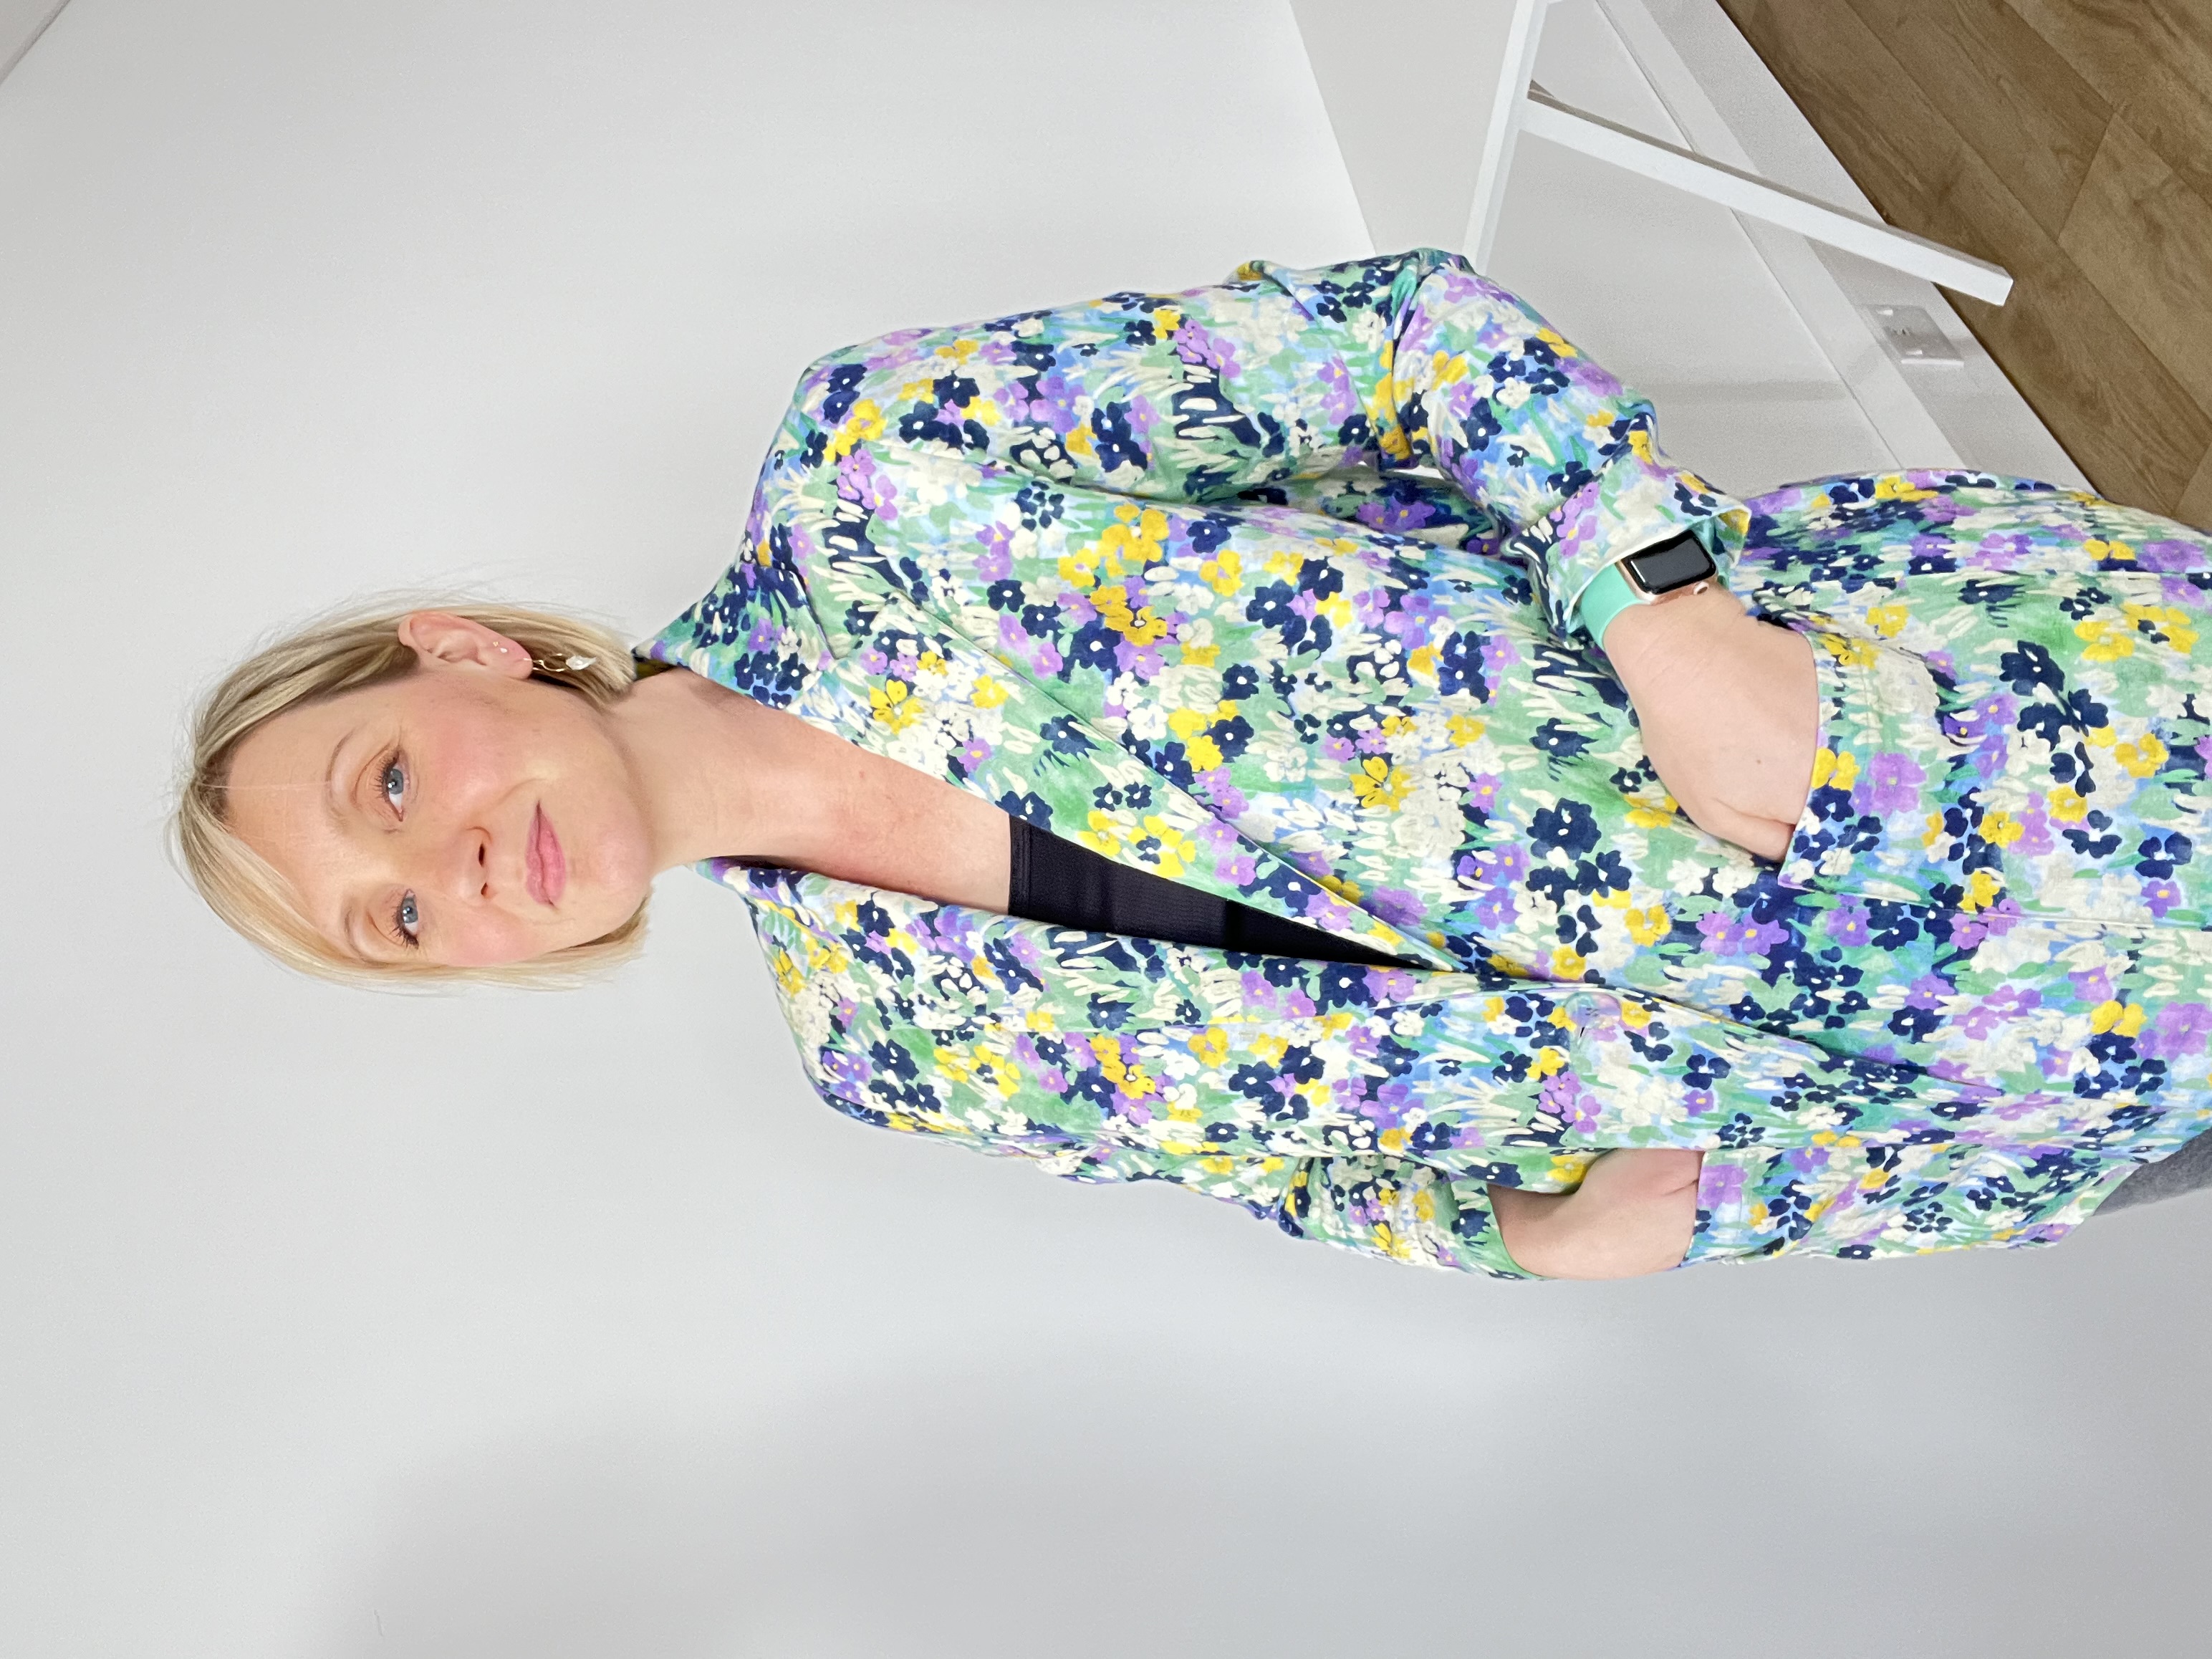
It feels like Spring has finally arrived! This month's Dream Wardrobe is the PERFECT spring jacket. The Heather blazer is a relaxed fit, made in our exclusive Iris print linen and viscose, you will not want to take it off. I am wearing a jumper and jeans with mine now, but I have plans to make a matching pair of shorts to wear in the summer.
About the fabric:
Iris is a linen and viscose mix, perfect for spring and summer. It has the look and feel of linen, but the viscose content means it has a slightly softer handle and less creases! This design is part of the New fabric Godmother collection (launching in stores on the 23rd March).
I always recommend that you pre-wash your fabric. This fabric can be washed at 30 degrees, I would suggest a low spin cycle.
This fabric is perfect for the Heather blazer, however all of these patterns would also be wonderful in this fabric.
Anna Allen Pomona Pants & Shorts
Named Reeta Midi Shirt Dress
Sew Liberated Estuary Skirt
How to use up your scraps…
I’m currently a little obsessed with making small matching cross body bags for all my summer makes, just big enough to hold my phone so I don’t have the phone drag in my pockets!
About the pattern:
The Heather is an unstructured, modern blazer. This comfortable and stylish jacket has a slightly oversized fit and can be worn in all seasons. It is the perfect editorial layering piece. This pattern is designed to be approachable for the beginner sewist. If you have always wanted to dip your toe into making outerwear but have previously felt intimidated, this is a great place to start!
Notions required:
- Matching thread (we have sent you a reel of the Gutermann Sew-all thread)
- Button, we used the Pigeon wishes button we have sent you as they match the fabric perfectly!
The Heather would also be great in the following fabrics
Enzyme Washed Eco Linen - Rust
Anna Washed 6 Wale Jumbo Stretch Cord - Yellow
Checkerboard Cotton Twill - Blue
About your gift:
The Pigeon wishes Neverland buttons are the perfect match for this fabric!
#fgdreamwardrobe
Want to share your Dream Wardrobe? Use the hashtag #fgdreamwardrobe and share your unboxing and final makes on social media.
Happy sewing, Josie xxx
The Heather Blazer - Naomi's Sewing notes
Prewash fabric
I found approximately 5% shrinkage after washing at 40°C.
Ironing
This fabric irons beautifully. I used almost the maximum heat setting on my iron and a little steam.
Choosing a Size
Based on measurements, I should have cut for medium bust and graded out to a XL but as it is an oversized fit, I didn’t want to create too much of an A-line shape so I cut a medium and graded out to a L between the waist and hips. I would suggest checking your bicep measurement because the sleeve felt like a narrow fit.
Cutting Out
This linen and viscose blend is pretty easy to cut out so I cut on a double layer. I used a combination of fabrics for the lining. A cotton lawn for the body of the jacket and a polyester lining for the sleeves, to make the sleeves easier to slide on and off. The cotton lawn is lemon and the lining was mint green. Both available from our website.
Interfacing
The pattern calls for knit and woven interfacing. I applied both with a hot iron, no steam and a pressing cloth. It is helpful to hold the iron on the fabric for about 30 seconds to ensure the interfacing does not lift later.
Transferring pattern markings
I transferred all notches and marked dots with tailors tack so they did not disappear.
Making up the garment
I used a 70 universal needle throughout.
The seam allowance on the pattern is 1 cm unless otherwise stated.
Pockets
I used a hot hemmer to create straight sides when pressing the pockets. Trimming the corners can reduce bulk when pressing. I used a little fabric glue to hold my pockets in place when sewing.
Sleeves
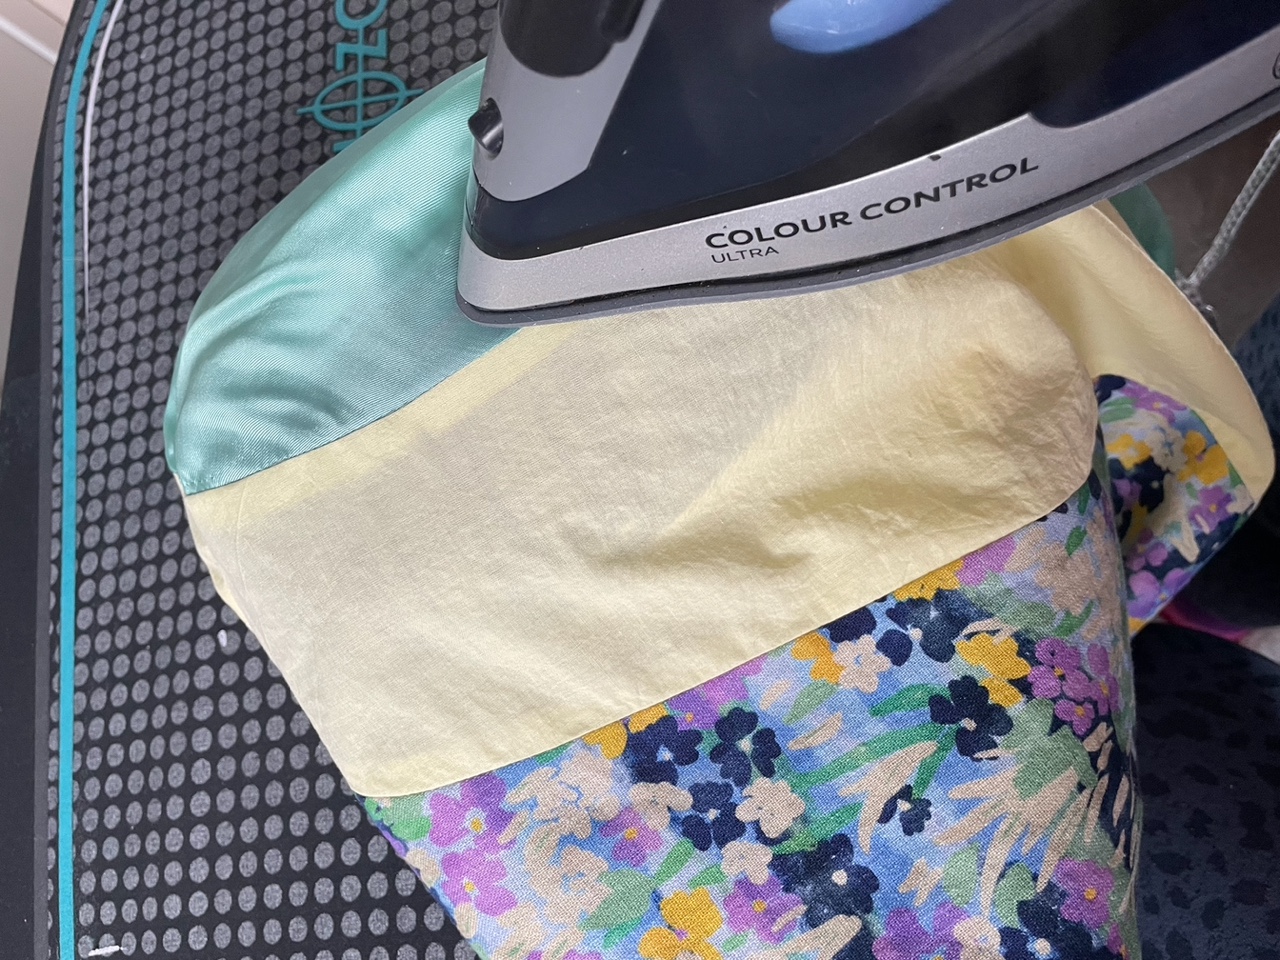
I found a sleeve board helpful to press my sleeve seams open. When inserting the sleeves it is important to take your time. The ‘gather’ stitches should just help create a curve to the top of your sleeve and not actual gathers. This step can take quite a bit of patience and lots of pins! If you get little tucks, just unpick that section, ease the tuck out and sew again.
When pressing the sleeve head, a tailors ham can help create a nice curve.
Collar
Accuracy is important with this stage. Make sure your dots are marked really clearly on the collar pieces and only sew to the dot and no further.
Lining
Because the sleeve lining can be slippery and more difficult to sew without puckers, a walking foot can be really helpful at this stage to ease your fabric through. If you are using a polyester lining, make sure you lower the temperature on your iron to prevent melting the fabric. For step 17, I pressed the seam open, including the unsewn part of the seam. This makes it easier to sew closed later.
When pinning the upper collar to the lining insert a pin through the dot on the collar and then through the dot on the lining to ensure they are matched accurately.
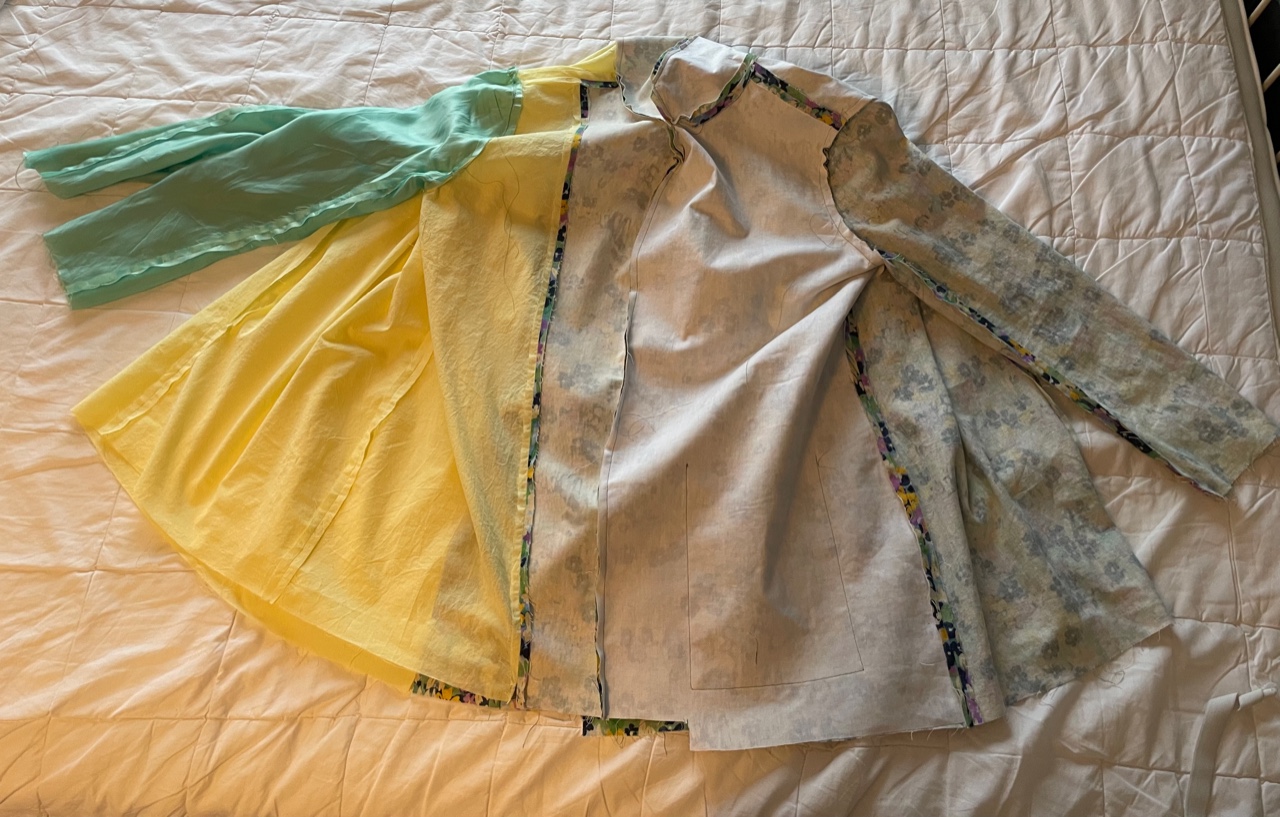
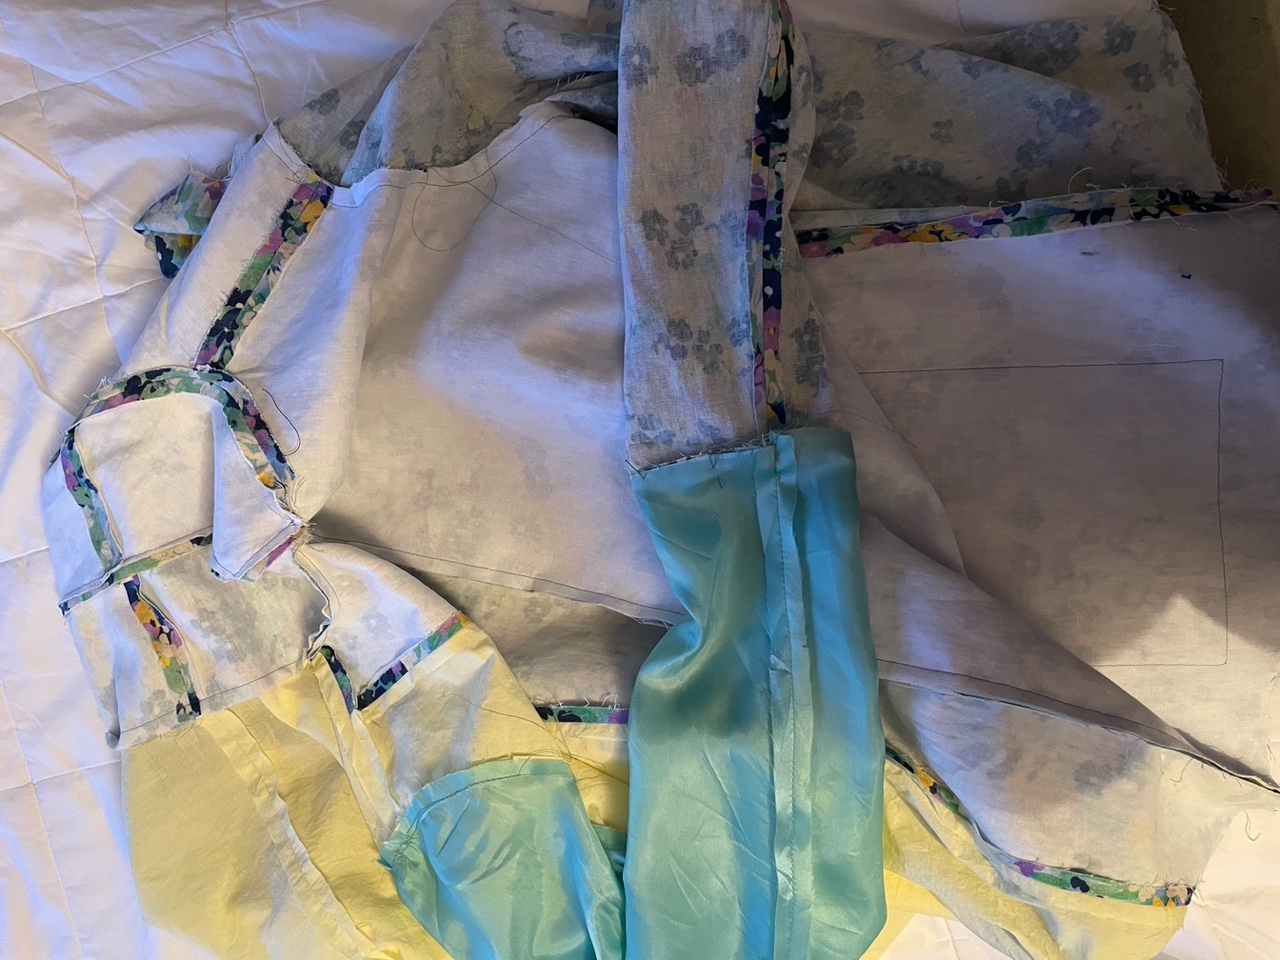
The photos below illustrate what the jacket should look like once the lining is attached to the main fabric in step 25.
Grading
Grading the collar helps it to sit much better. A duck billed appliqué scissors can help trim seams separately.
Checking
After tacking the lining to the body of the coat, I draw the coat out as if to finish to check it is not twisted and then pull back to the inside. This is all helpful when trimming the collar. Drawing out and pushing out corners with a point turner can help to check that your stitching line was accurate or if it needs adjusting.
Top stitching
I didn’t top stitch around the collar edge as I prefer it without. The upper and lower collar should be stitched together at this point. I prefer to do this by hand as I have a lot more control. I can ensure that the needle is going though the seam line on both sides.


