Welcome to your November 2022 Dream Wardrobe.


UK SIZES 16-30
Sequins and sparkles are great... but, on the nights when I’m not partying there is nothing better than snuggling up in a cosy pair of tracksuit bottoms.
Who am I kidding! If I could, I would wear tracksuits every day of the week, including to parties!
That’s why this month we have got the ultimate thick snugly sweatshirt fleece and a classic tracksuit bottoms pattern for you.
And if you want to make a matching or contrasting sweatshirt then keep an eye out for the Dopamine Set kits launching on the website this week.
About the fabric:
This Super Thick sweatshirt fleece is great. It is the thickest sweatshirt fleece we’ve ever found and the emerald green colour is such a favourite of mine.
We have included 2.30m of the fabric, enough for the included Plateau pattern. You could also try these patterns if you prefer...

Closet Core Patterns Mile End Sweatshirt

Lysimaque Fougère Sweater
I always recommend that you pre-wash your fabric. This is especially important with fabrics that are made from natural fibres (cotton, linen, viscose etc) as these have more of a tendency to shrink. See the sewing tips below for how to wash this fabric.
About the pattern:
A classic tracksuit bottoms pattern. You will use over and over again. The shape feels very modern, and the hip pockets are very flattering as they reduce the bulk at your hips. We omitted the waist cord and used the elasticated hem finish for the legs rather than the cuff version.
One thing worth mentioning is that this fabric is quite thick so you may want to size up if you want a looser fit.
Notions required:
- Matching thread (we have sent you a reel of the Gutermann rPET thread made entirely from recycled plastic bottles)
- 50mm wide elastic (1.3m) for the waist band
- 25mm wide elastic for the cuffs (90cm)
While I am sure you will agree the Super thick sweatshirt fleece is perfect for this pattern you could also use

Organic Sweatshirt Fleece - Terracotta
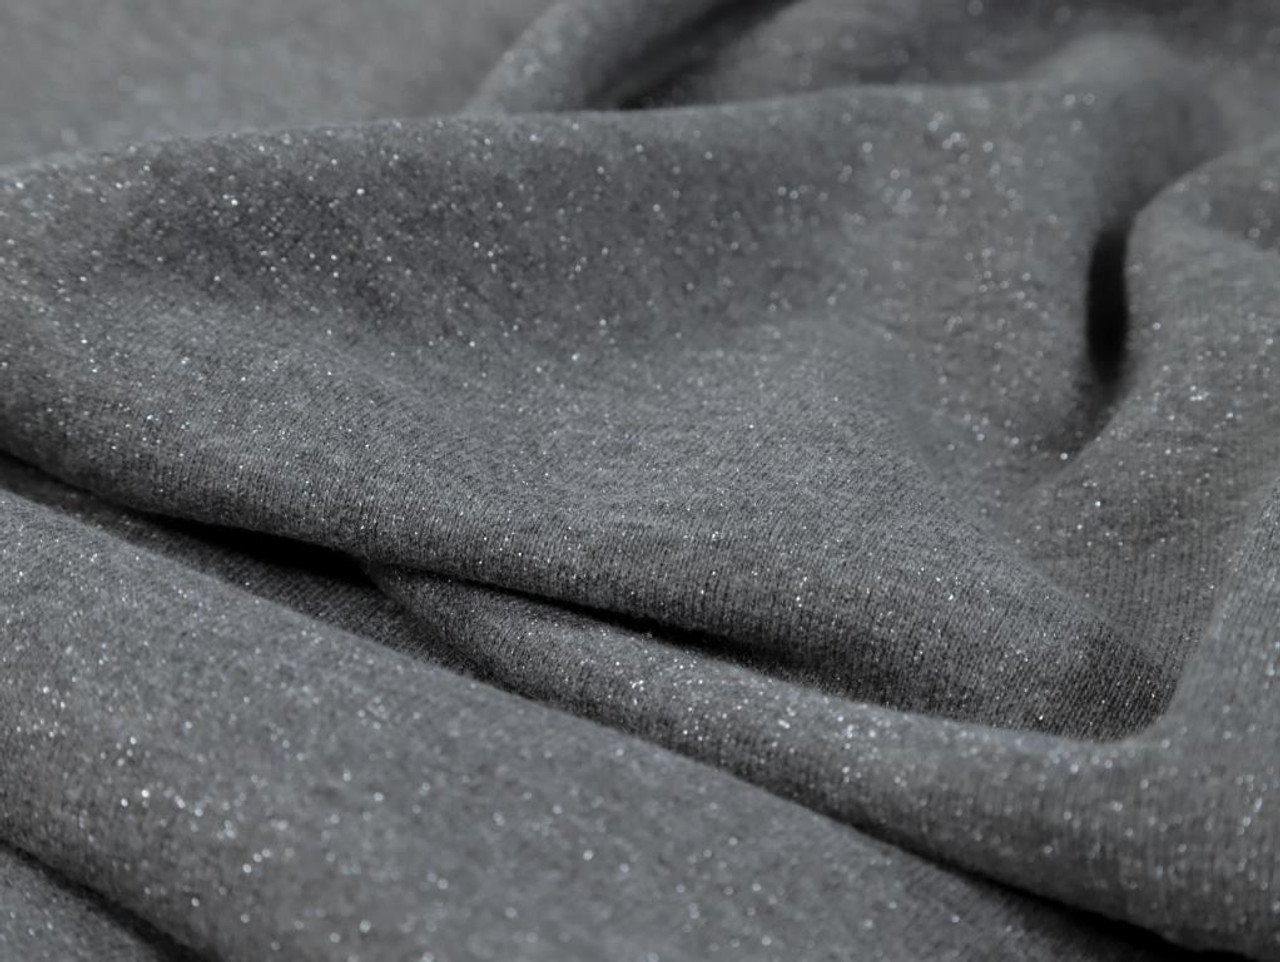
Lurex Sweatshirt Fleece - Grey
About your gift:
This handy magnetic pin holder snaps onto your wrist so you have your pins just where you need them.
#fgdreamwardrobe
Want to share your Dream Wardrobe? Use the hashtag #fgdreamwardrobe and share your unboxing and final makes on social media.
Happy sewing, Josie xxx
Closet Core Plateau Joggers - sewing tips from Naomi
Prewash fabric
I found a tiny bit of shrinkage after washing a 10cm swatch at 30°C.
Ironing
I used a medium heat setting on my iron and a little steam.
Choosing a View
The Plateau joggers can be made with a cuff band or elastic cuff. I added the elastic cuff to this pair and patch pockets to the back.
Cutting Out
The fabric is thick so you might want to cut out at single thickness, although I didn’t and it was fine.
Alterations to the pattern
I made a number of alterations to the pattern by altering the pieces and then tracing them. I made size 14 and added a full seat adjustment of 7cm in total. This was instead of grading out to a size 16. This was split between both legs so 3.5cm was added. See photo below. I used the full seat adjustment suggested on the Closet Core website.
https://blog.closetcorepatterns.com/pants-fitting-adjustments-best-tips-for-pants-fitting/

I also added 4.5cm to the length of the leg by cutting along the lengthen line and slip apart by 4.5cm and then tracing, truing the lines.

Transferring pattern markings
I transferred all notches and marked the dots with tailors tacks as I found fabric pens didn’t mark the fabric so well.
Making up the garment
I used a size 70 jersey ballpoint needle a stretch twin needle for top stitching in places.
Adding the label
The label can be added to the waistband, the side seam or the back packets, so it is worth considering where before starting. See video clip. A tip is to attach the label to the page of the pattern where you will add it with washi tape. That way you won’t forget to add it when you get to that point.
Back pockets
I used a twin needle to add even top stitching to the top of the back pockets. If using a twin needle you may need to adjust the tension to avoid tunnelling and a ridge. I would suggest testing out the twin needle tension before stitching your pockets.
The fabric can be thick and using pins on the pocket can distort the fabric a lot. I use fabric glue which washes out easily afterwards. I also use a hot hemmer to press the edges in evenly. Once pressed, I glue the seam allowances to the inside. Then I glue all the sides down to the trouser leg, keeping it in place while I sew.
When stitching the reinforcing triangles on the top of the pockets, it can be tricky to keep them even. Stitching the triangle itself in a lower stitch length can give more control. Also drawing in the triangle shape with a fabric pen can help.
Hip pockets
Once the top pocket was pressed to the inside, I top stitched with the twin needle for a neat finish.
Bar Tacks
The bar tacks can be tricky to sew with a lot of seam bulk. It is worth using a walking foot if you have one and a hump jumper if needed. A hump jumper raises the back of the foot to level it out when moving over a bulk of fabric. Starting from below and working up worked better for me. Unpicking is not fun! It is also worth marking the length of the bar tack so they match.
Waistband
I attached the waistband with a long stitch first, added the elastic, fitted it and then stitched close with a long stitch before overlocking the seam.
Label
I then added a label to the waistband. See video clip.
Cuffs
The elastic option means stretching a smaller loop of elastic to match a much larger leg cuff. I marked the circle of elastic into quarters and attached those to the cuff first with pins. I then stretched the elastic between those points and pinned in place.

To sew the elastic on the the cuff, I attached with a long stitch on the machine first and then used the overlocker. To keep the cuff slightly stretched, I removed my machine bed so the arm was left and slipped the sleeve on here. I did still ensure that I stretched the elastic and fabric from he front and back, maintaining an even stretch.
