Welcome to your April 2022 Dream Wardrobe.
UK SIZES 6-30
Every now and then, in between the pretty blouses and floaty dresses I sew, I like to embark on a big sewing project. One that I can take my time over and will challenge and grow my sewing skills. These are not the type of projects you try to finish the night before your holiday or do while watch the tv. This month’s Dream Wardrobe is one of these projects.
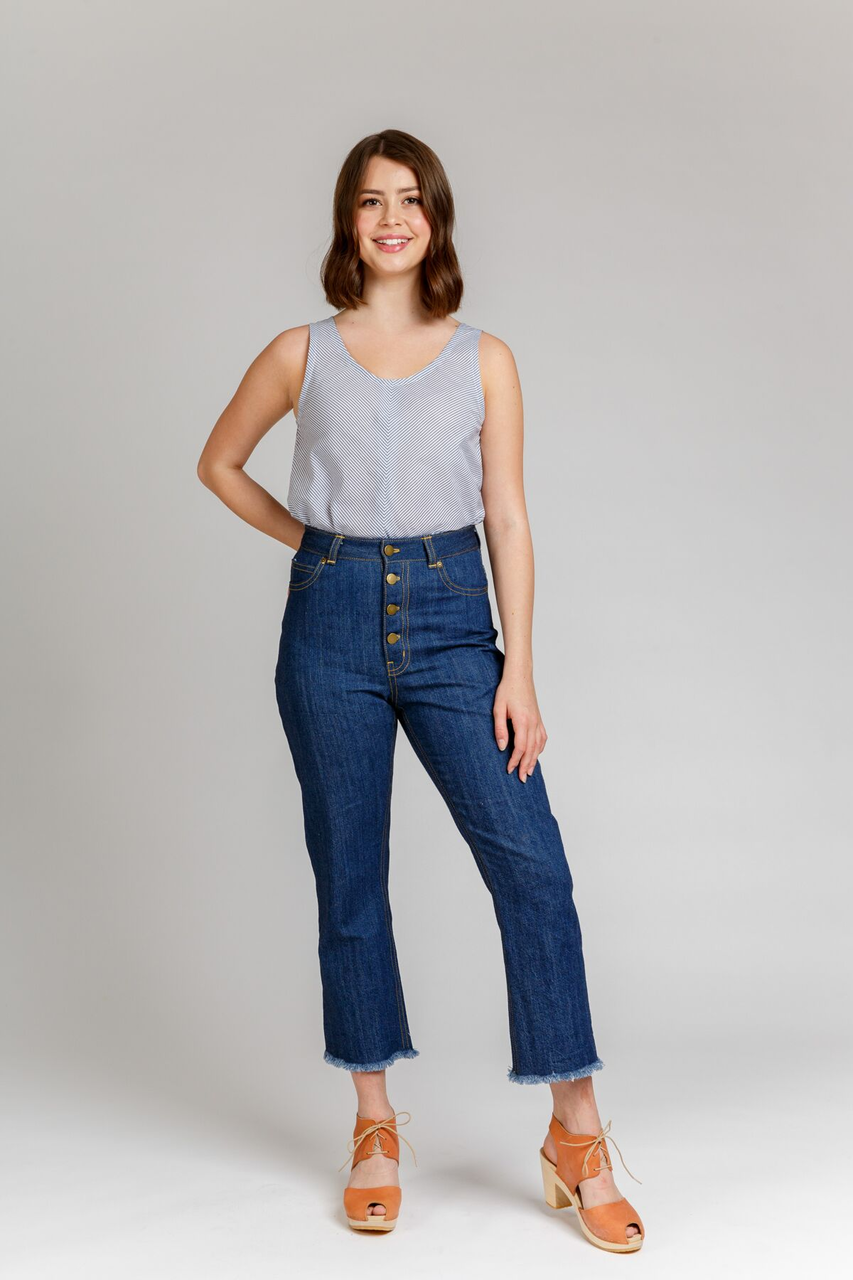
The Harlene dungarees in deadstock black denim are an involved but very rewarding project.
With a project like this I really like to enjoy the process of sewing more than focusing on the finished garment. Breaking it down in to bite sized chunks can really help, just doing one step each time you sit down to it.
Sometimes I do a palette cleanser project half way through, this is a quick simple sew that I have made many times before (for me this is a tee shirt or pair of pants for my daughter)
It took Julia, who made the Dream Wardrobe sample, 12 hours to make the dungarees. There are lots of pattern pieces and lots of top stitching. However, if you invest the time to make these you will end up with the most wonderful pair of versatile dungarees.
They look fantastic over a white tee shirt or a pretty white blouse and in the winter, you can layer big, knitted jumpers’ underneath for warmth.
As always Julia has written some wonderful sewing notes below to guide you through this sewing project.


About the fabric:
This deadstock black denim is the perfect weight and feel for a pair of dungarees. It sews up beautifully and unlike some denims it doesn’t leave black stains all over your hands.
If you choose not to make the Harlene dungarees with this fabric here are some other great pattern suggestions for the denim:

I always recommend that you pre-wash your fabric. This is especially important with fabrics that are made from natural fibres (cotton, linen, viscose etc) as these have more of a tendency to shrink. Also, they are more likely to have a dressing added at the factory that can change the feel and handle of the fabric once washed. When pre washing denim I always recommend doing the following, tbhis will prevent those white streaks you can sometimes get when you wash denim:
- Make sure your denim is unfolded completely before putting it in the washing machine.
- Use a tennis ball or dryer ball in your machine to ensure the denim keeps moving while being washed.
- Use a dye catcher sheet (available from most supermarkets) to catch any loose dye.
- Add table salt in the washing machine to help fix the dye.
- Make sure you remove the denim from the washing machine as soon as the wash has finished.
- Dry flat and shake out any creases in the denim while still damp.
It is advisable to repeat these washing instructions for the first few washes.
Scrap Busting Projects:
One of our subscribers pointed out that there is often left-over fabric from her Dream Wardrobe. So, I suggested that each month I include some scrap busting ideas for the fabric we send out.
This denim would be great as a bucket hat, or sun visor you could line it with some pretty contrast cotton.
Denim is also a fantastic fabric to use for patching up your clothes as it is hard wearing, perfect for elbow and knee patches.
Also making use of the denims hard wearing nature and use it for little bags, purses or pouches for storing and transporting all your little bits.
About the pattern:
The Merchant & Mills Harlene dungarees are a classic dungaree pattern. They have a very relaxed fit. As I felt I wanted a more fitted pair of dungarees Julia made the sample for me 2 sizes smaller than my hip measurement indicated. If you choose to make yours more fitted, make sure that you allow approx. 4” ease at the hips to make them comfortable to wear.
(Ease is the difference between your hip measurement and the finished garment measurements.)
Notions required:
All available form Fabric Godmother.
- Matching thread (we have sent you a reel of the Gutermann rPET thread made entirely from recycled plastic bottles)
- Top Stitching thread or Extra strong thread
- Dungaree clips, sliders and buttons, we used the Merchant & Mills Harlene kit which contains all of these
- Lining fabric for the waistband and pockets
About your gift:
This wonderful leather label from Little Rosy Cheeks is the perfect finishing touch to your Dungarees.
#fgdreamwardrobe
Please use the hashtag #fgdreamwardrobe and share your unboxing and makes on social media.
Happy sewing, Josie xxx
Julia's sewing notes
Harlene Dungarees
I’ve loved making up this sample but, be warned, this project is quite involved and not a quick make. It took me approximately 12 hours to complete. It’s definitely worth taking your time to work though the construction methodically, transferring all the pattern markings and being precise with pressing and stitching.
Prewash fabric
I didn’t prewash this fabric but would recommend that you do. See above for tips on how to do this.
Ironing
This fabric irons beautifully and easily. I used almost the maximum heat setting on my iron and a little steam.
Cutting Out
This garment has plenty of ease so after comparing your body measurement to those on the pattern, look at the ‘Finished garment measurements’ to help you choose the right size. I wanted a closer fit so I chose one size smaller at the bust and 2 sizes smaller at the hips than the one which best fitted the body measurements. I also added 10cm of length to the legs.
The fabric is quite wide at 170cm and I managed to fit all the pieces into 1.6m

There’s a definite right side to this fabric where you can see the diagonal twill weave. To make sure you don’t make any mistakes with the right and wrong side as you are constructing, after cutting out the fabric add a chalk mark to the wrong side of the fabric so this can be clearly identified.
I used a plain black cotton poplin for the lining pieces.
Transferring pattern markings
Make sure to transfer all the notches – I use a tiny snip in the centre of the notch marking. There’s also lots of * markings to indicate where seams should line up or to mark the location of buttons and buttonholes. I used tailor’s tacks to mark these but you may find that marking these with chalk avoids the issue of losing the tailor’s tacks as you work though the construction process.
Making up the garment
I used a size 100/16 universal needle as the fabric is medium / heavy in weight and there’s also lots of layers to stitch through. To keep track of the needle type that’s in my machine, I write the needle type on a piece of masking tape and stick this to my machine.
The seam allowance on the pattern is 1.5cm.
The fabric frays a little so after cutting out the fabric I edge finished all the fabric pieces with a 3-thread narrow overlocking (serging) stitch. This is my preferred method for overlocking woven fabrics which don’t easily fray. Simply remove and unthread the left needle of your overlocker (serger) to create a narrower stitch.
Topstitching
There is a lot of topstitching in this project. I used approximately 2.5 spools of thread so if you’re purchasing topstitching thread in 30m spools for this project I’d advise you to buy 3 spools so you don’t have the panic moment of running out mid project.
A good alternative to topstitching thread is ‘Extra Strong Thread’ or ‘Upholstery thread.’ This is slightly thinner than topstitching thread so you may find this works better in your machine.
Alternatively, you can use two strands of general purpose polyester thread for extra thickness, or keep it simple and topstitch using 1 strand of general purpose polyester thread.
Use topstitching thread in the needle and regular polyester thread on the bobbin. When you begin and end your lines of topstitching don’t back tack as this can leave large knots of thread on the underside of your work. Pull the topstitching thread through to the wrong side of the fabric after stitching, knot the ends and weave in the thread for an invisible finish.
As a sewing teacher I have the luxury of having a few ‘spare’ sewing machines that I use for my classes. To make the construction process easier, I thread up one machine with topstitching thread and the other with regular sewing thread. This saves a lot of time on having to swap over from regular to topstitching thread.
There’s lots of bulky seams to stitch over so make sure that the presser foot is flat and not sitting at an angle when you are sewing. This will avoid the ‘birds nesting’ of threads as you start a line of stitching or skipped stitches in the middle of your work. Use a height compensation tool (otherwise known as a clearance plate, hump jumper or jean-a-ma-jig) behind or in front of the presser foot to maintain a flat position. A piece of folded over fabric or cardboard works perfectly if you don’t have one of these plastic tools.

To keep the topstitching straight and evenly spaced, I use a blind hemming foot for edgestitching close to the seam line or close to an edge.

Then I use either another marker just inside the screw on the blind hemming foot, or a 1/4 inch (6mm) foot to sew the second line of topstitching.


The instructions are very clear and easy to follow for this pattern. But, as always, I did make a few amendments.
The pattern instructions give clear information on how to grade seams to reduce bulk. On the crotch seam and leg seams I trimmed down one seam allowance to 7mm (the one that will be enclosed when pressing the seams to one side before topstitching. I also overlocked this to avoid any fraying.


When creating the pockets, I took a slightly different approach to make a clean finish at the top opening edge.
I overlocked all the edges of the pocket then with right sides together I folded the top edge of the pocket under by 2cm. I stitched 1.5cm around the pocket and trimmed and cut off the top corners.


The top edge is then turned right side out and the stitching line around the pocket can be used as a pressing line. The top edge can be topstitched from the right side of the fabric.

You can see this technique for finishing the top edge of the pocket in my video ‘How to Sew a Patch Pocket’ which can be found on my YouTube channel here:
https://www.youtube.com/watch?v=AAd4LU5Cuxo&t=1s
I used this same technique to finish the top edge of the bib and topstitched this in place at step 25, once this has been attached to the front trousers and the side edges of the bib are turned and pressed in position.


I cut off 6cm from the straps as they were a little bit long and the position of the sliders was on my shoulder.
When hammering on the buttons, hammer from the wrong side and use a flat surface such as a wooden chopping board.
To apply the ‘One of a Kind’ leather patch, I used a hand sewing leather needle and topstitching thread so I could sew exactly over the marked stitching lines on the patch.
More tutorials and videos on techniques can be found at www.houseofmisssew.com or https://www.youtube.com/c/HouseofMissSew/videos