Welcome to your May 2022 Dream Wardrobe.
UK SIZES 6-30
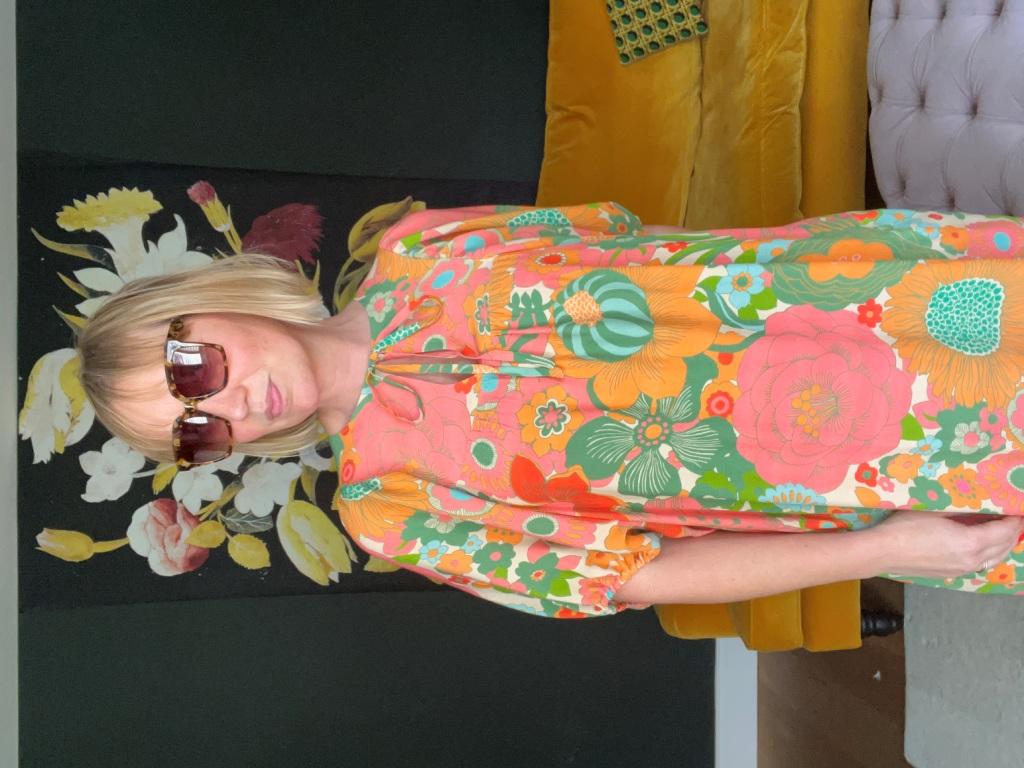
For all you vintage lovers out there, this month’s Dream Wardrobe is the PERFECT summer dress! The fabric features a big bold vintage floral and the pattern has some serious 70’s kaftan vibes. Together they make a dress or blouse that will instantly transport you back to the summer of love.
As soon as I tried on this combination I fell head over heels in love. It made me feel effortlessly glamourous and was so comfy it was like a secret nightie!
I am always banging on about how important I think it is for our Me Made garments to offer lots of opportunities to be worn and this is no exception. Layer over a bikini and sandals for a day at the beach then swap the flats for some platforms and a big pair of gold hoops and you are disco ready!
As always, Julia has written some wonderful sewing notes below to guide you through this sewing project...
About the fabric:
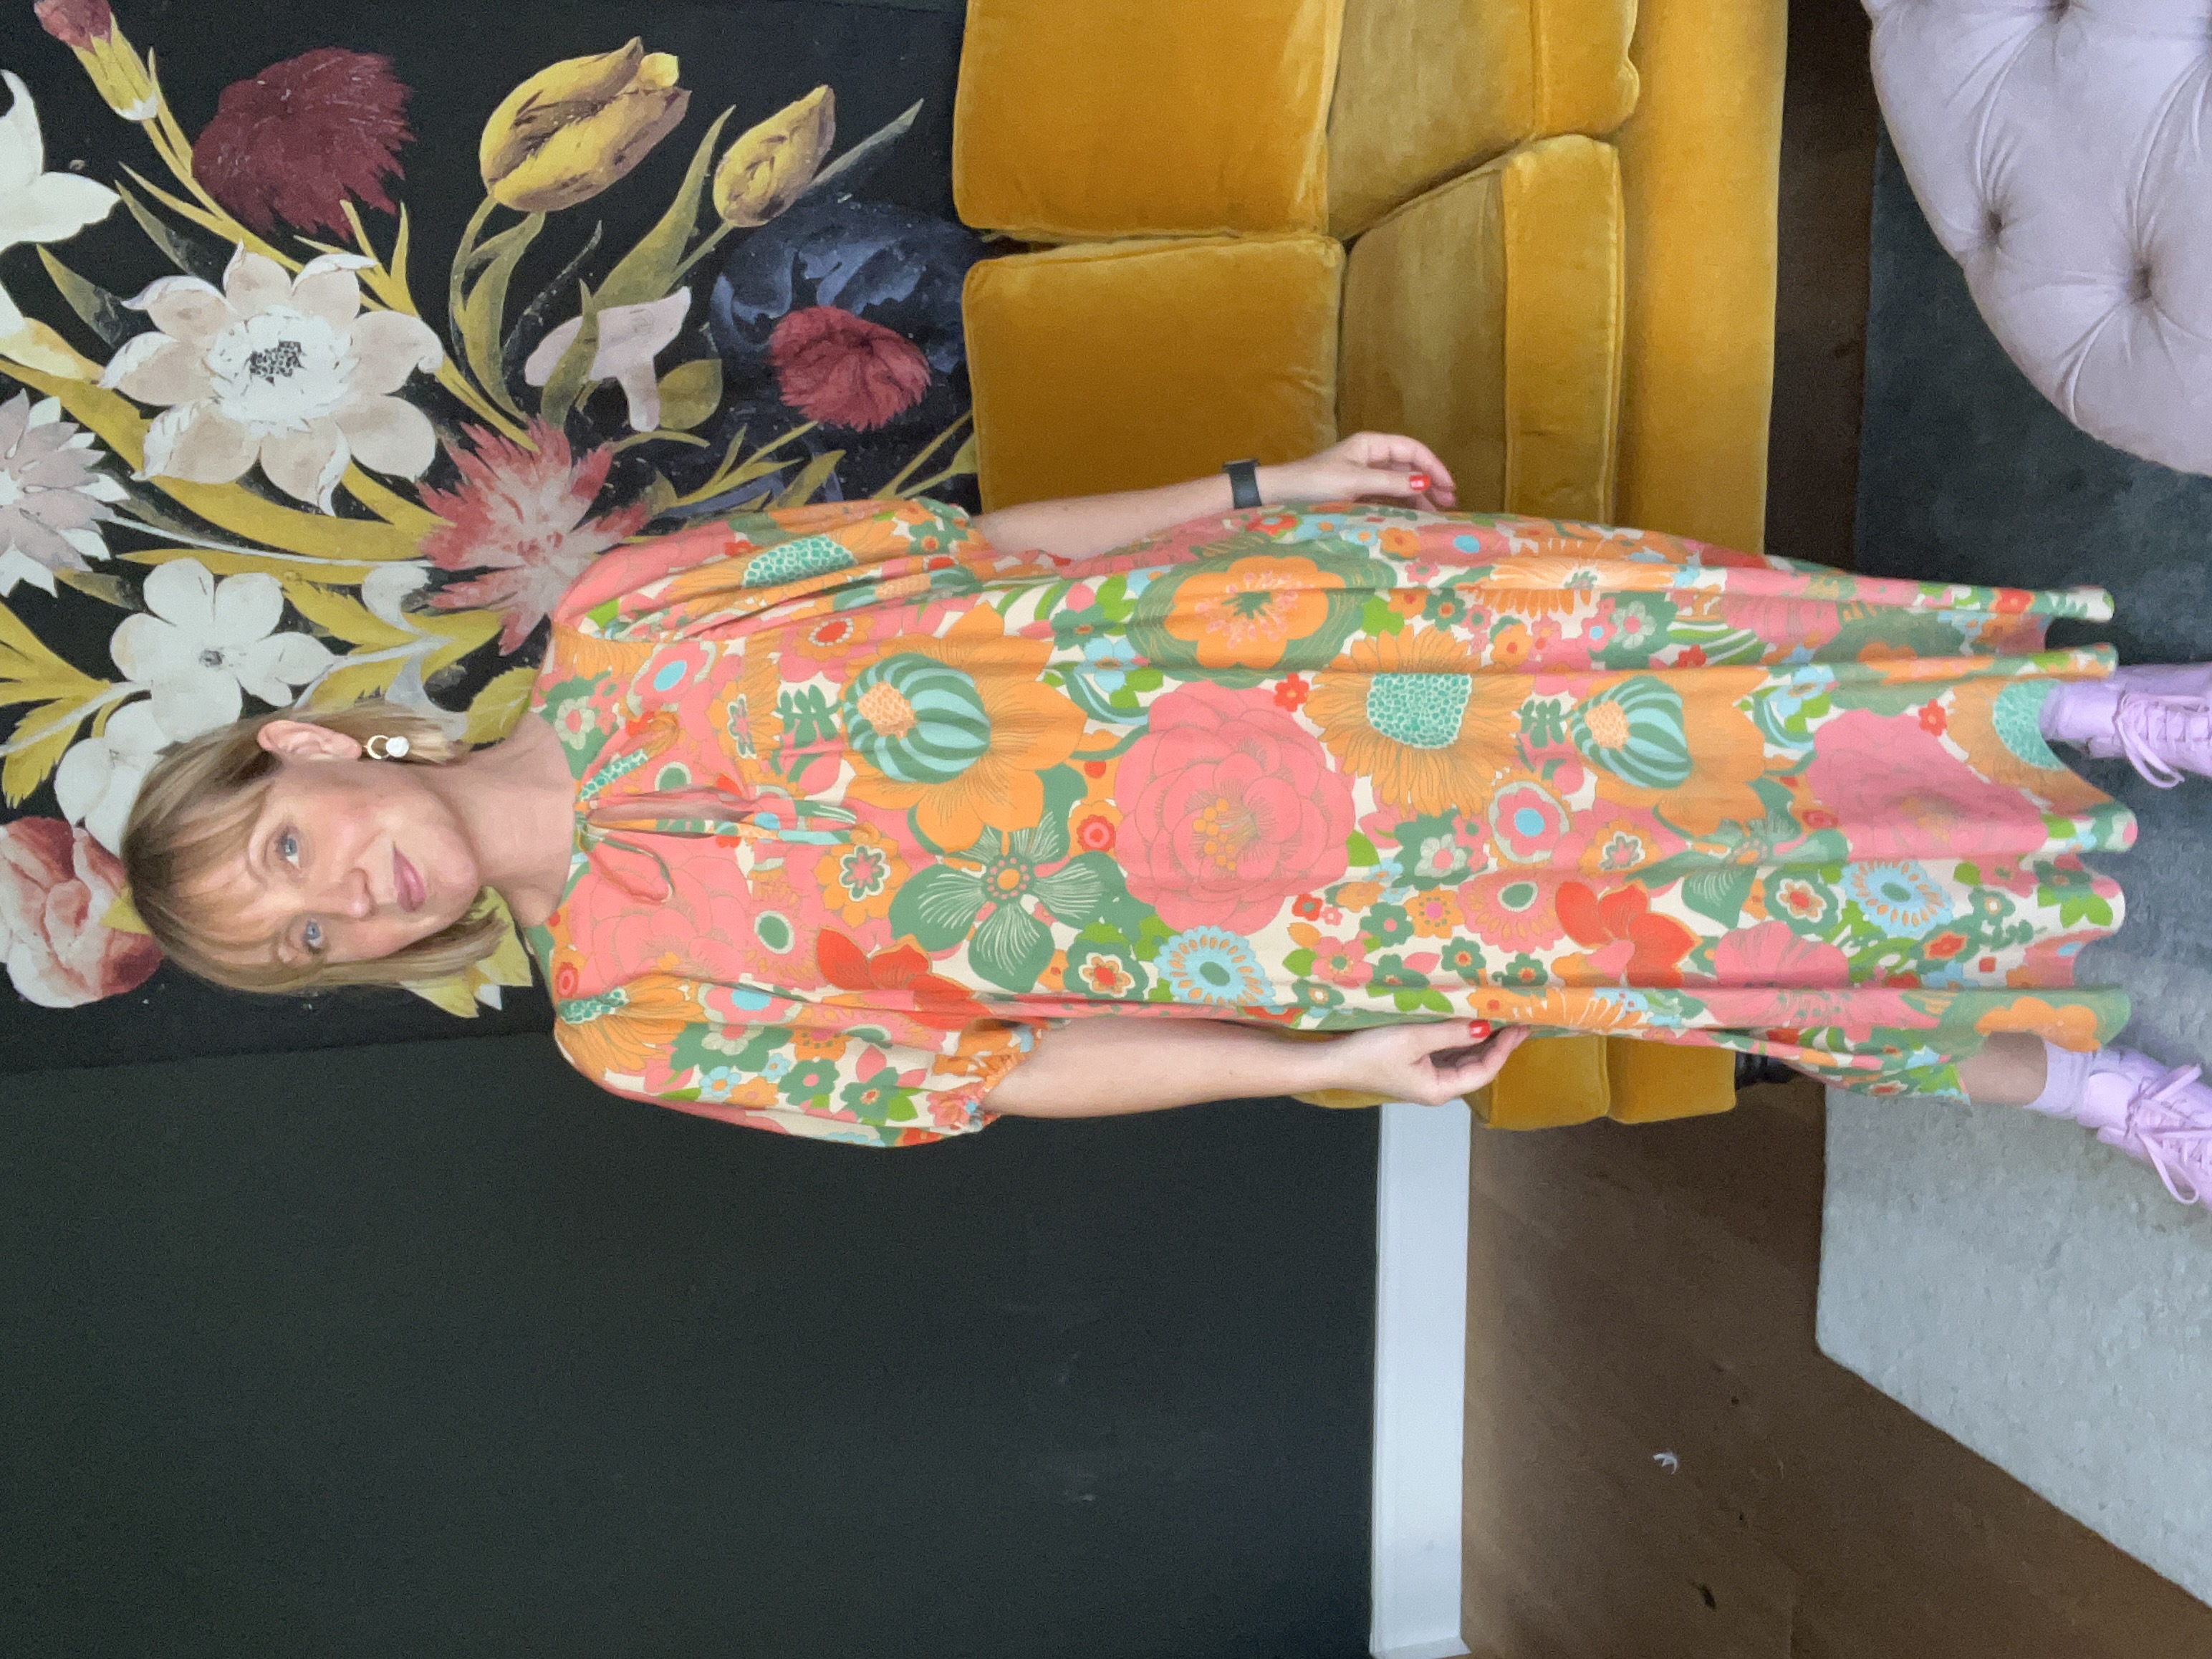
The Petula viscose crepe is part of the Fabric Godmother collection. Inspired by the Ken Scott Gucci collaboration, we wanted to add a bold vintage floral into our collection. When we found this print we all instantly fell in love with it.
You have got over 3m of this wonderful crepe so there is lots to play with if you decide to make something other than the Vali dress.
Here are some ideas for other patterns that would work really well in this fabric:


I always recommend that you pre-wash your fabric. This is especially important with fabrics that are made from natural fibres (cotton, linen, viscose etc) as these have more of a tendency to shrink.
Scrap Busting Projects:
One of our subscribers pointed out that there is often left-over fabric from her Dream Wardrobe. So, I suggested that each month I include some scrap busting ideas for the fabric we send out.
Left over scraps of this crepe would be wonderful as fun bright scrunchies or a a tie headband to keep your hair off your face on the sunshine.
If you make the blouse version of the Vali and have lots leftover, you could make a matching pair of shorts, a very cool summer two piece.
About the pattern:
Pattern Fantastique extended the sizing of this pattern especially for us and I am so grateful. I knew it was the perfect match to this fabric and I wanted to be able to send it to everybody.
I think the Petula fabric would work perfectly in the both the blouse and the dress length, I also think it would be very sweet in a mini dress version.
I now have 3 Vali dresses, as well as the Petula. I have a viscose sateen one in Dazzle and a cotton poplin version. All these fabrics work really well. I also think that a linen one would be wonderful.
Notions required:
All available form Fabric Godmother.
- Matching thread (we have sent you a reel of the Gutermann rPET thread made entirely from recycled plastic bottles)
- Elastic for sleeves
- Interfacing
About your gift:
A loop turner is a very handy tool to have in your sewing box. The ties on the Vali dress are rouleau straps and can be fiddly to make. Not with the loop turner, it easily pulls the straps the right way round after sewing.
#fgdreamwardrobe
Please use the hashtag #fgdreamwardrobe and share your unboxing and makes on social media.
Happy sewing, Josie xxx
Julia Sewing Tips:
The Vali Dress
Prewash fabric
I found approximately 5% shrinkage after washing at 40°C.
Ironing
This fabric irons beautifully and easily. I used almost the maximum heat setting on my iron and a little steam.
Cutting Out
I chose the bust size closest to my own and this worked out perfectly. If you are between sizes, you could probably get away with going for the smaller of the two sizes.
I added 15cm to the length of the dress by drawing a line across the pattern, perpendicular to the grainline, just below the pockets. I then cut along this line, added in 15cm and blended the lines to the sides of the dress.
I made the standard neckline version.
I made a video of how I made the dress which can be found on my YouTube channel here:
https://www.youtube.com/watch?v=J1iVkHlKSIk
I decided to fully line the bodice, instead of using the facing pattern pieces.
I cut out 4 x A – the front yoke, (2 pieces for the main garment and 2 for the lining) and 2 x B – the back yoke (1 for the main garment and 1 for the lining.)
As such, I didn’t need to cut pieces E, F, G or J as these are all facing pieces.
Transferring pattern markings
Make sure to transfer all the notches, dart markings, and the small dots on the skirt and yoke pieces. I also found it useful to mark the front and back of the sleeves and skirt pieces.
Making up the garment
I used a size 80/12 universal needle to avoid snagging the fabric.
The seam allowance on the pattern is 1cm except for on the necklines where it is 6mm.
I edge finished all the seams with a 3-thread narrow overlocking (serging) stitch. This is my preferred method for overlocking woven fabrics which don’t easily fray. Simply remove and unthread the left needle of your overlocker (serger) to create a narrower stitch.
Staystitching
There are a lot of areas to staystitch before sewing.
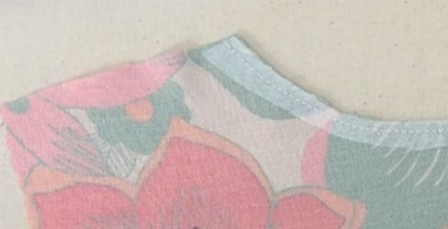
For the best results with viscose crepe or other slippery, drapey fabrics, I would advise applying thin 1cm strips of interfacing along the seam lines of the areas which require staystitching.
Place the garment piece on your ironing board and then place the pattern piece on top to make sure that the fabric isn’t distorted before applying the interfacing strips.
Pin the interfacing strips along the fabric edge so they cover the seam line.
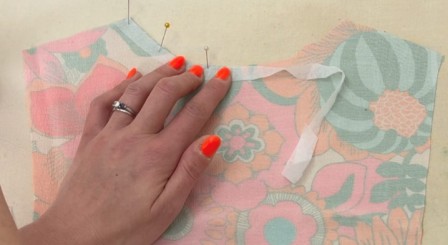
Once the strips are fused in place, staystitch through these strips, within the seam allowance, to provide additional stability.
When staystitching the back neckline, sew from one shoulder to the centre back and then from the other shoulder to the centre back.
Construction
When sewing the darts, if you’ve chosen to use a lining instead of a facing, you may wish to press the lining darts towards the side and seams and the darts on the main garment towards the centre back, this will allow the two layers to sit flatter.
When sewing the straps, I used a 1cm seam allowance measured from the folded edge, this allows you more control over the width of the strap. You can use your handy loop turner to turn the straps to the right side.
There’s also a lot of gathering on this pattern – the instructions suggest the use of 3 lines of gathering stitching where the 3rd line sits 2cm from the raw edge. As this line of stitching will be shown once the pieces are sewn together, I sewed just 2 lines of gathering stitches within the seam allowance.
When joining the sleeve to the yokes and skirts I sewed this in three steps. I started first by matching the sleeve to the side of the front and back yoke – sewing this in place first between the dots. Then I matched the front sleeve to the front yoke and stitched this seam in place, then finally matching the back sleeve to the back skirt and sewing this in place.
Check your order of instructions – all the instructions are there, but not necessarily in the right order. My booklet was put together incorrectly and skipped from page 10 to page 12. Keep your eye on this and don’t get caught out!
I used a slightly different method for the hemming than is described I the instructions. I used a rolled hem - this technique can be seen in my video ‘Rolled Hem (Without Using the Rolled Hemming Foot)’
When you pin the sleeve hem at step 59, press the seam allowance of the side seams to the front of the dress.
I also cut the elastic in the sleeve a little longer as I didn’t want this to be too close to my arm.
I found the pocket opening a little too small. When you reach step 62, make this line of stitching a little shorter to create a slightly larger pocket opening. 1 - 2cm shorter would be enough.
More tutorials and videos on techniques can be found at www.houseofmisssew.com.


