ZERO WASTE BELL JACKET - INSTRUCTIONS
Welcome to your September 2023 Dream Wardrobe.
UK SIZES 6-30

Well, this is a very exciting month. During Sustainable September, I find myself reflecting on my sewing journey and questioning if there are changes I can make to make my sewing more sustainable. There are so many resources out there now to help us make more sustainable choices in our sewing. From educating ourselves on what fabrics are made of and the production processes used. (Spoiler alert I don’t believe there is such a thing as a totally sustainable fabric, not even fabric you already have in your stash). But there are better fabrics that are more considered in their manufacturing processes and composition. Make sure you keep an eye on my Instagram videos as I regularly share information about the provenance of our fabrics.
There are also some amazing podcasts and publications (Our very own Sustainability Coordinator Zoe, has a brilliant blog: Check Your Thread. And Peppermint magazine regularly looks at sustainability issues)
Another movement we have seen blossom over the last few years is the idea of Zero Waste Sewing. These sewing patterns are created to minimise the amount of fabric you use and ensure that as much of the fabric is used as possible.
I am also so pleased to be able to bring you guys an outerwear Dream Wardrobe, it has long been a dream of mine to include a winter coat or jacket in Dream Wardrobe and finally now we can.
For those of you who have never made outer wear before, or never used a Zero waste pattern. We have made sure that this month’s box is really achievable for all levels of dressmaker.
Birgitta, the pattern designer has the most excellent help guides on her website, so if at any point during the cutting out and making of your coat, you need an extra bit of help, these are a fabulous resource.

About the fabric:
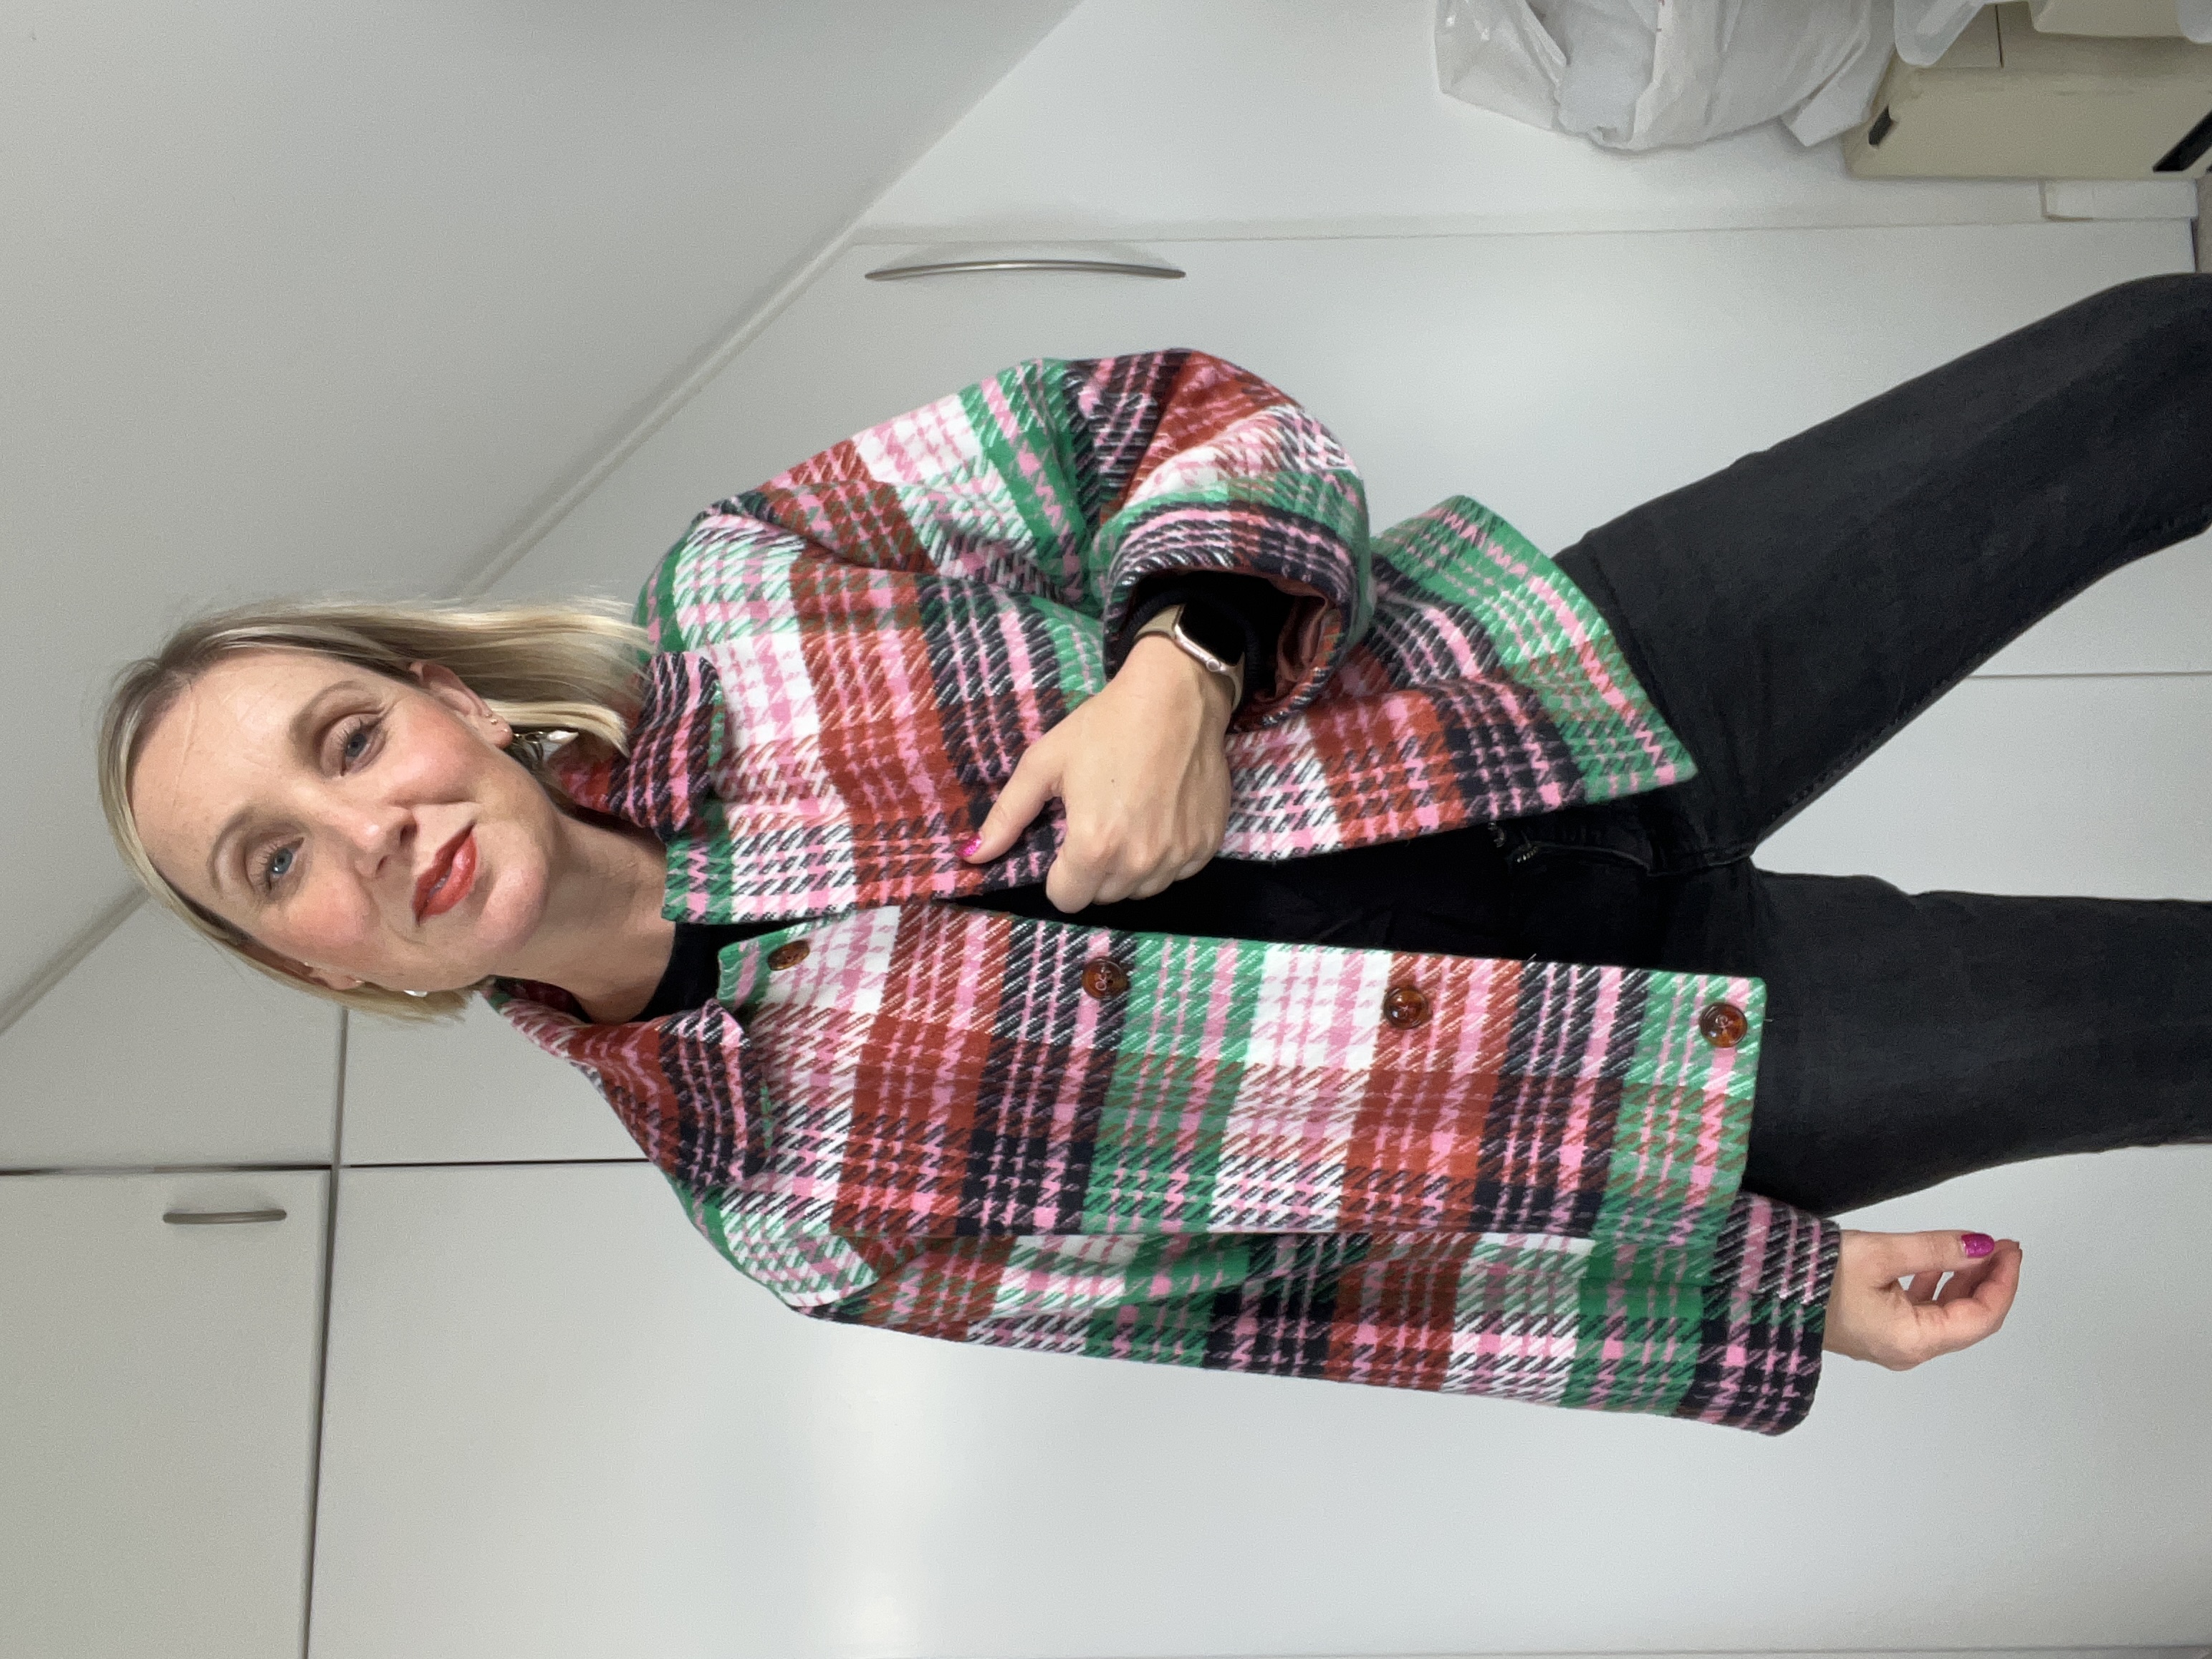
This checked coating contains all my favourite colours, the pink and green combo that is always a winner is combined with a rust colour that really works. The coating has a lovely soft finish, you can choose to use the coating either way round. For my coat I chose to have the more fluffy side outside for my jacket, but the twill would also look great.
Usually, I always recommend pre-washing your fabric. However, as I plan to dry clean my finished jacket, I have not pre washed the fabric this time. It is important that you pretreat the fabric in the same way you will clean the finished garment.
We have provided 1.60m, this is enough to make either size. The fabric is 150cm wide excluding the selvedge. The fabric is 50% cotton and 50% poly.
Though you may need to trim the fabric to make the size you require. See the sewing guide for more information.
If you need to trim your fabric to make the correct size for you and have any scraps leftover, why not make a small bag, hot water bottle cover, or Christmas stocking.
This fabric would also work well for:
Bel' Etoile Junna Vest/Gilet
Kylie and the Machine Mule Tote
About the pattern:
This is an oversized jacket with a rounded collar, front button closure, 3 front patch pockets, an inverted box pleat at the centre back neck and wide sleeves that are perfect for fitting all of your winter layers underneath. The Bell jacket gets it’s name from the bell shaped sleeve, created with several darts sewn into the hem of the sleeve. This jacket is fully lined.
Notions required:
- Matching thread (we have sent you a reel of Gutermann rPET thread)
- Interfacing (I love this cotton one)
- Buttons (I used the Pigeon wishes ones we have included in this month’s box as I felt they were the perfect match!)
- Bias binding
The Zero waste jacket would also be great in the following fabrics:
Willow Reversible Quilted Cotton Jacquard - Blue & Teal
Calum Checked Wool & Cashmere Coating - Red
About your gift:
Your gift is a set of Pigeon Wishes buttons that match the coating perfectly. And please can we all take a moment to appreciate the stunning packaging they come in, it makes them feel like an extra special gift.
#fgdreamwardrobe
Want to share your Dream Wardrobe? Use the hashtag #fgdreamwardrobe and share your unboxing and final makes on social media.
Happy sewing, Josie xxx
Zero Waste Bell Jacket - Josie's Sewing Notes
When making a Zero Waste pattern, the approach to cutting out the pattern is the biggest difference between Zero Waste and a classic paper sewing pattern.
Rather than all the pattern pieces provided, you have a set of measurements and instructions. Some of the pattern pieces may be included depending on the pattern and the designer. For the Bell jacket we have included in your box the pattern pieces that you need, all the rest is a set of very simple measurements.
I highly recommend clicking the links in Birgitta’s instructions, she has included additional help for many of the steps with lots of photos and extra guidance. I found these very helpful.
Prewash fabric
As I intend to only dry clean the finished garment, I did not prewash this fabric.
For the lining I used our Lola Viscose Acetate lining in Russet.
Ironing
I used a medium hot iron with a bit of steam to help with flattening and opening seams.
Preparing the fabric
The Bell Jacket is designed to be a loose oversized jacket. I am 5’10” and usually wear a size 14 UK. After checking my measurements, I decided that the size one would be the best fit for me, but trimmed the fabric to 150cm wide to ensure it wasn’t too big over my shoulders and had enough room around my hips.
The pattern includes 15cm ease in the fit so you can use this information to decide the best size to make for yourself.
If you want to make a smaller size 1 jacket then trim the fabric to 145cm wide.
If you want to make the bigger size 1 or size 2, then you will need to rotate your fabric and cut the pattern out along the grain not across it. Trim the fabric to the correct size for your desired size.
I didn’t make any alterations to the length of the sleeves or body.
Once you have your main fabric the correct size you will need to trim your lining fabric to make sure it is the right size for the size you are making.
For the interfacing I used a woven iron-on interfacing, the pattern is very clever and some parts use the lining fabric to stabilise parts of the outer fabric instead of interfacing.
Marking & Cutting Out
You will need to use the cutting plans and the instructions. (You don’t need to print the cutting guide as we have provided the parts you need printed)
I found it quite useful to use both guides when marking out the fabric.
I found that the lines of the check design of this fabric were really helpful when it came to cutting out as you could follow the straight lines. You will need a tape measure, and a calculator may be helpful.
The fabric itself was quite difficult to mark, I used a combination of tailor’s chalk (a nice soft one like this is best) and Frixion pens. For the dart points I found a tailor’s tack was the best form of marking. In retrospect I also feel that tailor’s tacks would be best for all the notches as the seam allowance is only 1cm for the jacket and the fabric is a slightly loose weave so it can start to unravel if handled too much. Not clipping into the seam allowance can help with this.
Making up the garment
I used a size 16 universal needle as the fabric is quite thick and sturdy, especially when you are going through more than one layer.
The seam allowance on the pattern is 1cm throughout.
Use Birgitta’s helpful guides, found here:
https://www.birgittahelmersson.com/blogs/tutorials
I followed all the steps exactly as they were in her instructions and found that the jacket came together really well!


