Welcome to your August 2023 Dream Wardrobe.
UK SIZES 6-30
I am a big fan of a blouse; they give French girl chic and can be easily layered. They are a wardrobe staple and the perfect canvas for adding details such as a pretty collar, ruffles or statement sleeves.
About the fabric:
The block print style cotton poplin we have sent you this month sews up like a dream. The fabric has just the right amount of mix between crisp and drapey to make it ideal for a blouse. The print is the perfect shade of pink, not too bright but enough colour to be able to wear it all year round.
Please note: When sewing the sample garment we noticed the fabric has been printed very slightly off grain. Due to the geometric layout of this print, we advise that you follow the simple cutting out instructions below to ensure that the pattern runs horizontally across your garment.
As always, I recommend pre washing your fabric to remove any dressing and allow for pre shrinking. A cool wash will be fine, just make sure the temperature you use to prewash is the temperature you plan to wash the final garment at. You don’t want your final garment to shrink.
If you have any scraps leftover why not make a washbag or some food covers, we have an excellent tutorial on our blog.
This fabric would also work well for
French Poetry Orion Shorts
Emporia Cassie Dress
About the pattern:
With all of its gathers, puffy sleeves and high collar, the Regalia still manages to look effortless and casual. The roomy fit of the bodice makes it so comfortable to wear. It pulls on over the head and ties at the back keyhole opening. It also features front and back yokes and a stand-up collar.
Notions required:
- Matching thread (we have sent you a reel of Gutermann rPET thread)
- Interfacing ( I love this cotton one)
The Regalia blouse would also be great in the following fabrics:
Marisol Stripe Swiss Dot Cotton - Blue
Denim Washed 4oz - Blue.
About your gift:
Your gift is an exclusive block printing kit containing everything you need to make your own block print drawstring bag. You can also use the block print to make wrapping paper, napkins, cards.
#fgdreamwardrobe
Want to share your Dream Wardrobe? Use the hashtag #fgdreamwardrobe and share your unboxing and final makes on social media.
Happy sewing, Josie xxx
Regalia Blouse - Julia's Sewing Notes
Compare your measurements to the body measurements and finished garment measurements on the pattern. The waist and hips are loose fitting. I made a straight size 10 in the longer body length with short sleeves. I didn’t make any other alterations to the pattern.
Prewash fabric
There will be some shrinkage when prewashing this fabric so make sure you don’t skip this stage.
Ironing
This fabric irons beautifully and easily. I used almost the maximum heat setting on my iron and a little steam.
Cutting Out
The pattern had been printed slightly off grain on the fabric I was using and so when I was preparing the fabric for cutting, I folded the fabric from selvage to selvage making sure that the lines of the print were aligned. I held the fabric up to a window so I could see through it as I folded the fabric.
One side of my fabric had quite a wide white selvage so when I folded the fabric, I didn’t completely match the two selvages. Instead, I matched the edges of the print. I’ve shown this in a photo below:
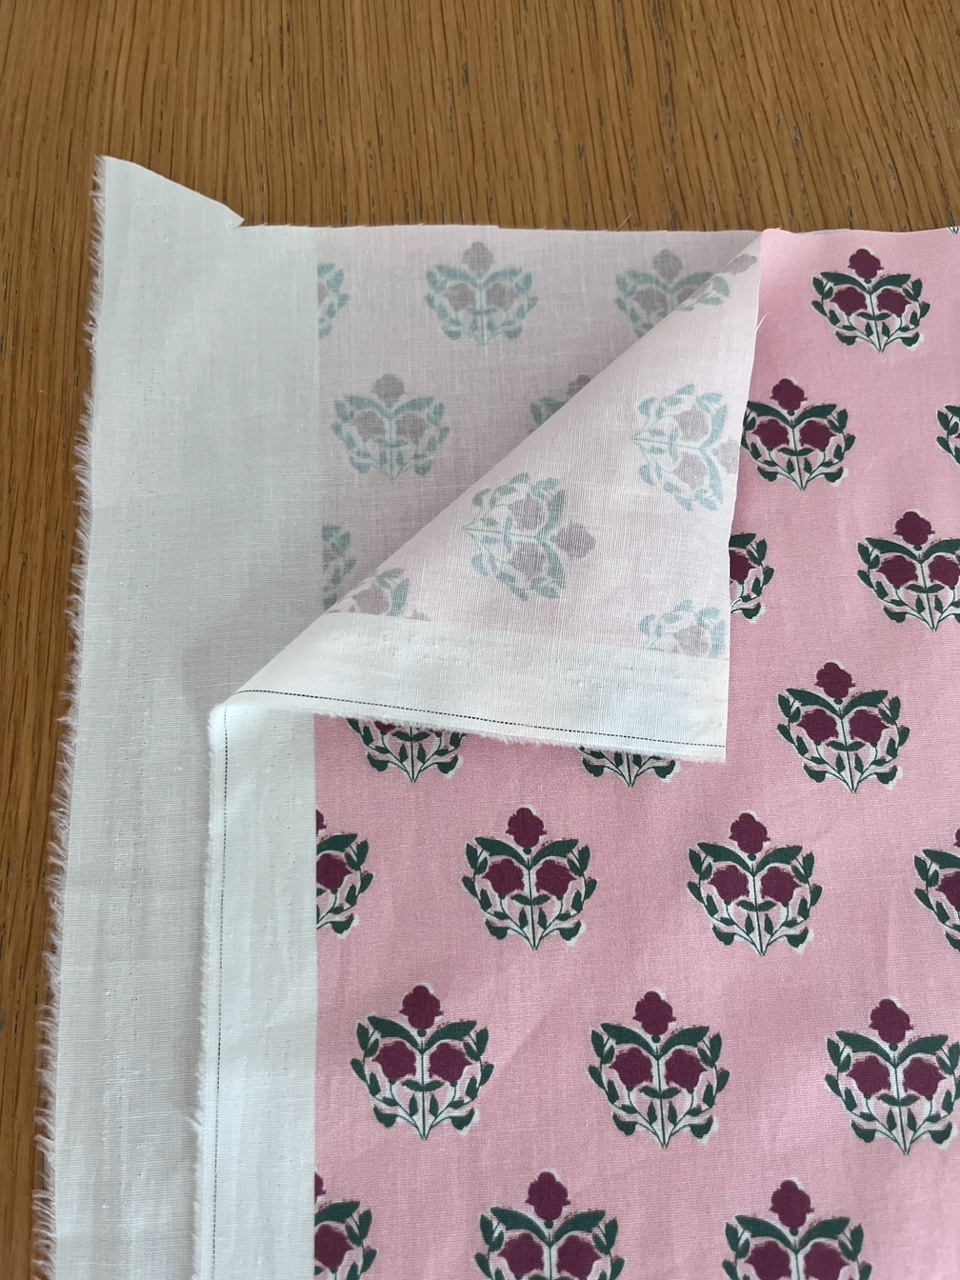
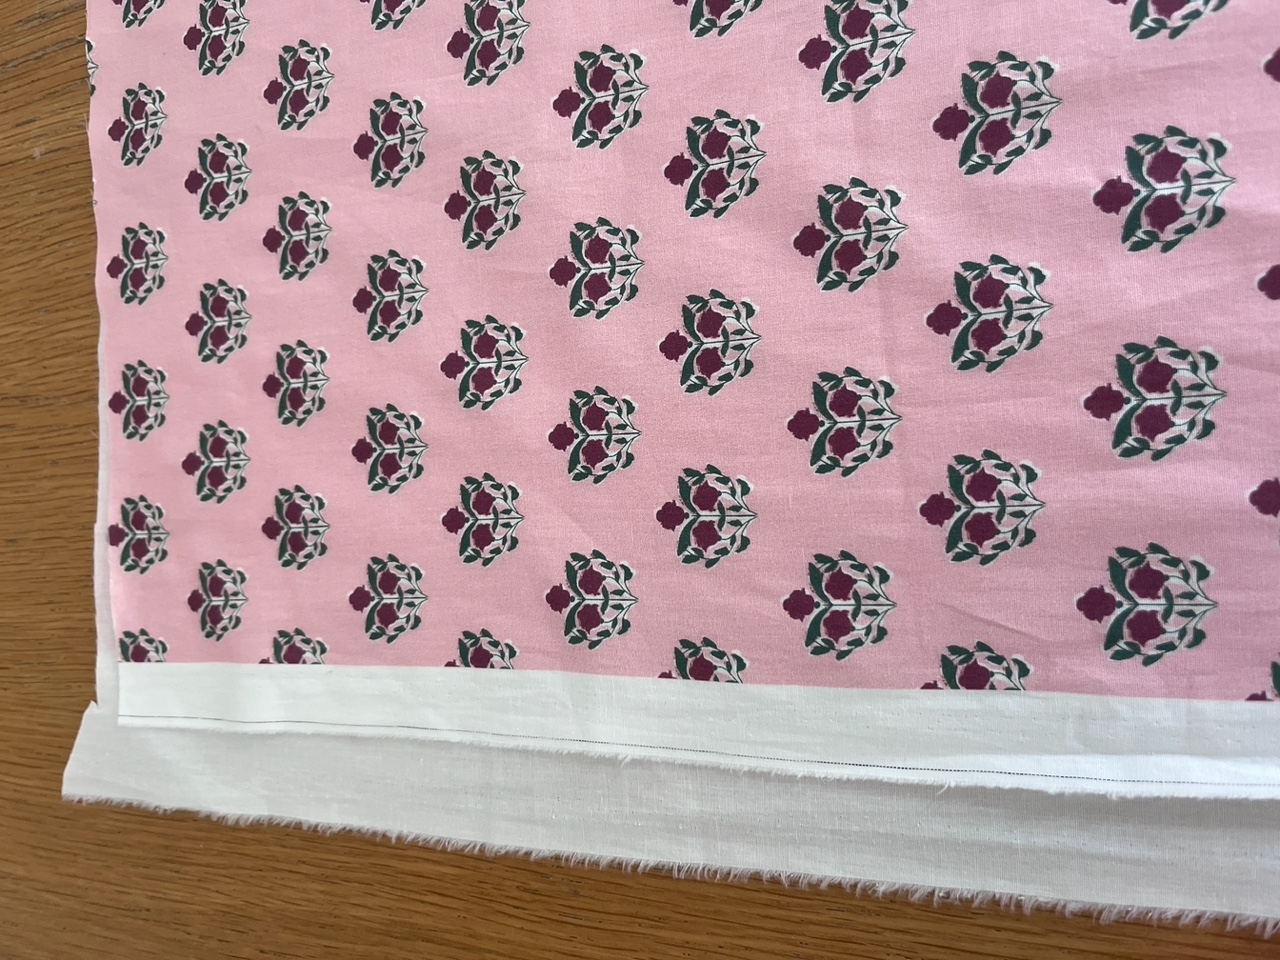
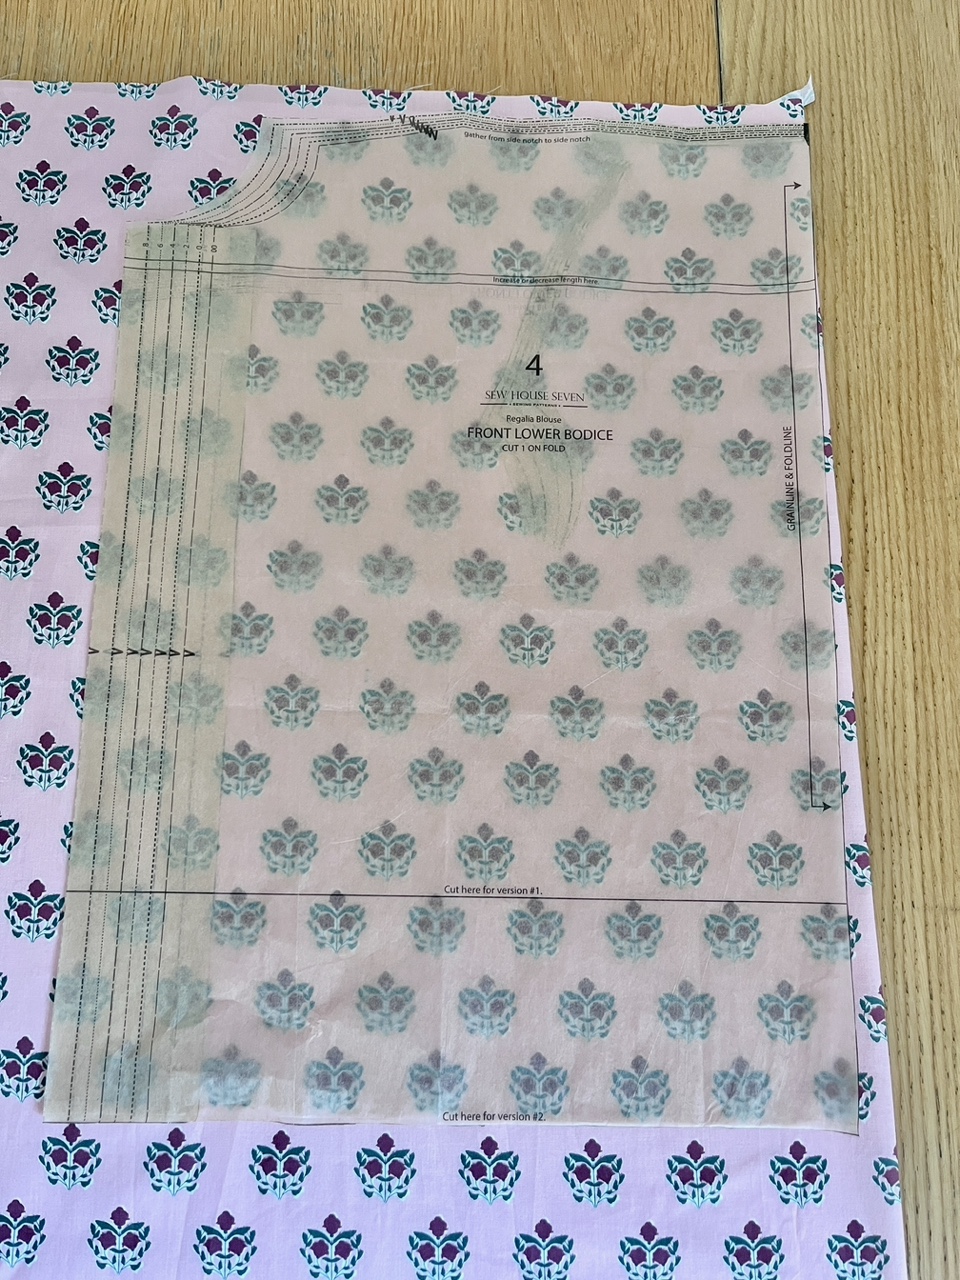
If you try to align the grainline of the pattern to the grainline of the fabric you may find that the pattern print does not run across your pattern pieces correctly. To avoid the print ‘running downhill’ on your garment, place your pattern pieces so that the print runs straight across the pattern piece. You can use the horizontal lines drawn onto the pattern pieces to help you with this. You’ll see in the image below how I have aligned the print with the horizontal line of the pattern. I’ve also moved the edge of the pattern slightly away from the folded edge of the fabric so I can keep the print in line across the pattern piece.
The pattern instructions suggest using tulle for the sleeve head pouf (pattern piece 15) but I cut these from the same fabric as the garment, it’s much less scratchy than using tulle.
When cutting out the back yoke I didn’t cut the slit into the fabric until I had applied the interfacing. Instead of cutting one tiny shaped piece of interfacing for the back yoke, I cut two rectangles and applied one to the centre back of the yoke and the other to the centre back of the yoke facing. I cut the slit into the centre back once the interfacing had been applied. The interfacing was applied before stay stitching.
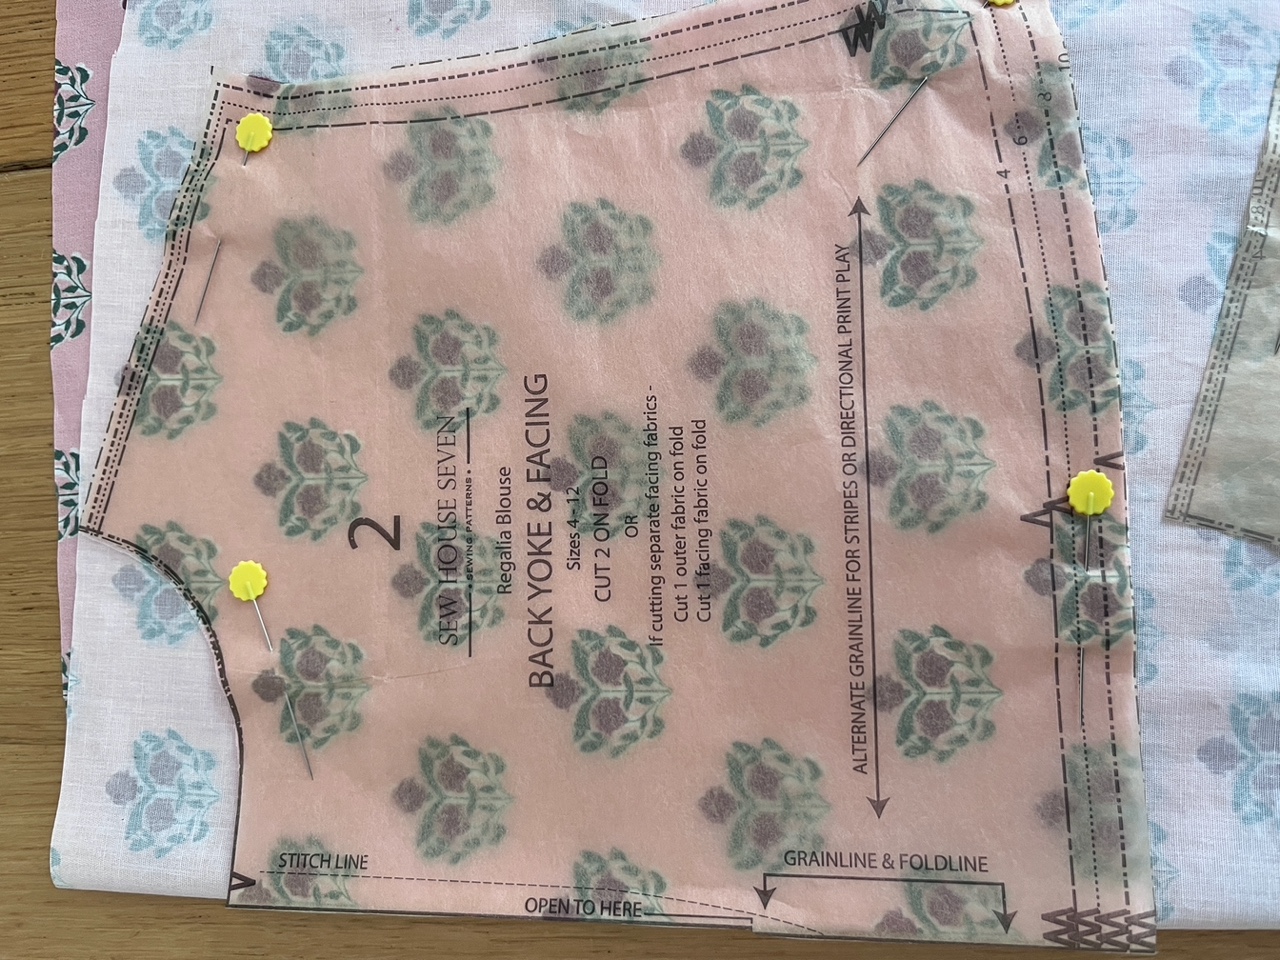
Back yoke cut out without cutting into the slit opening.
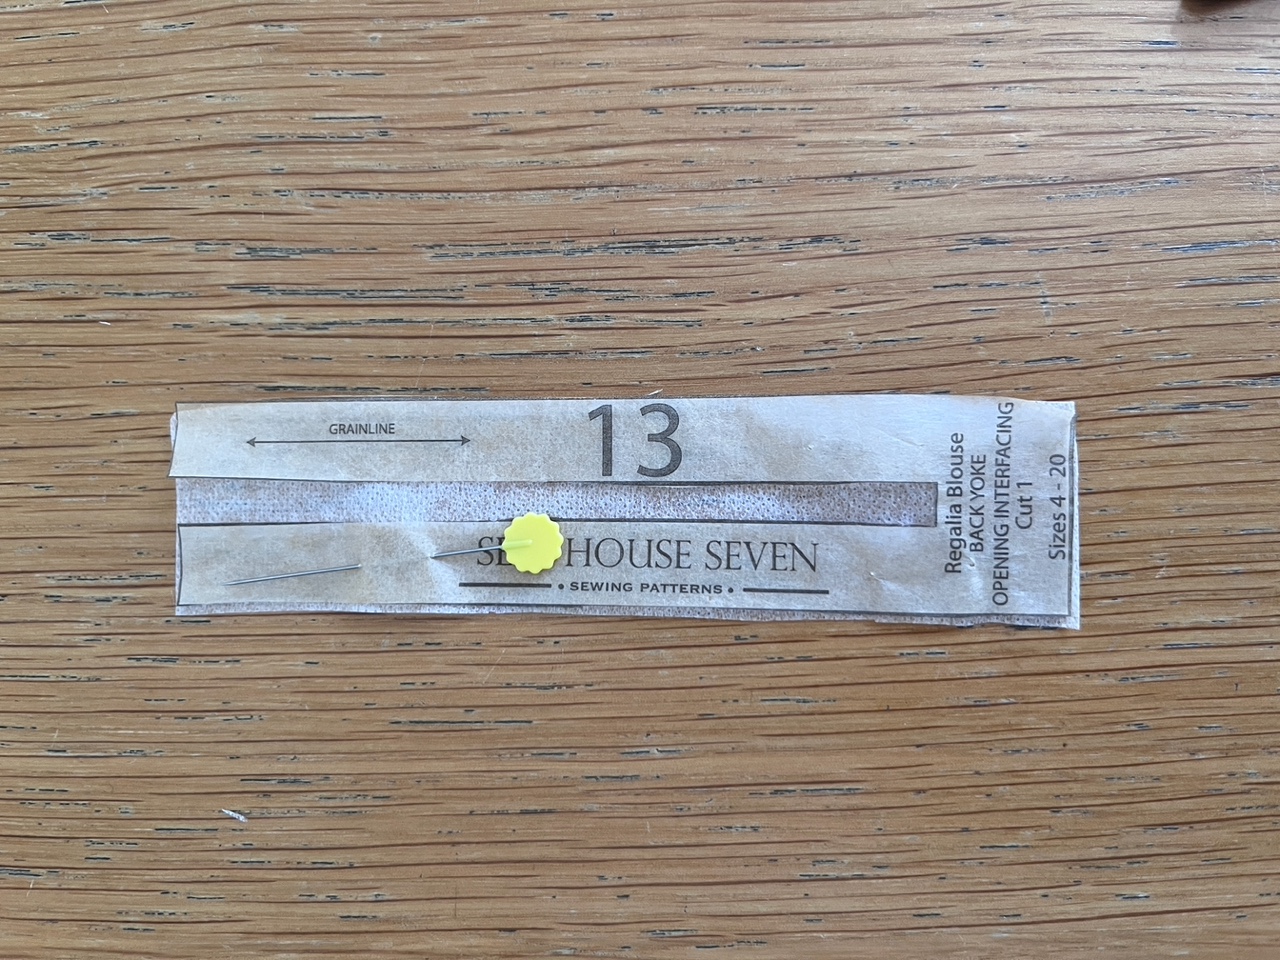
Rectangle of interfacing cut instead of the shaped piece.
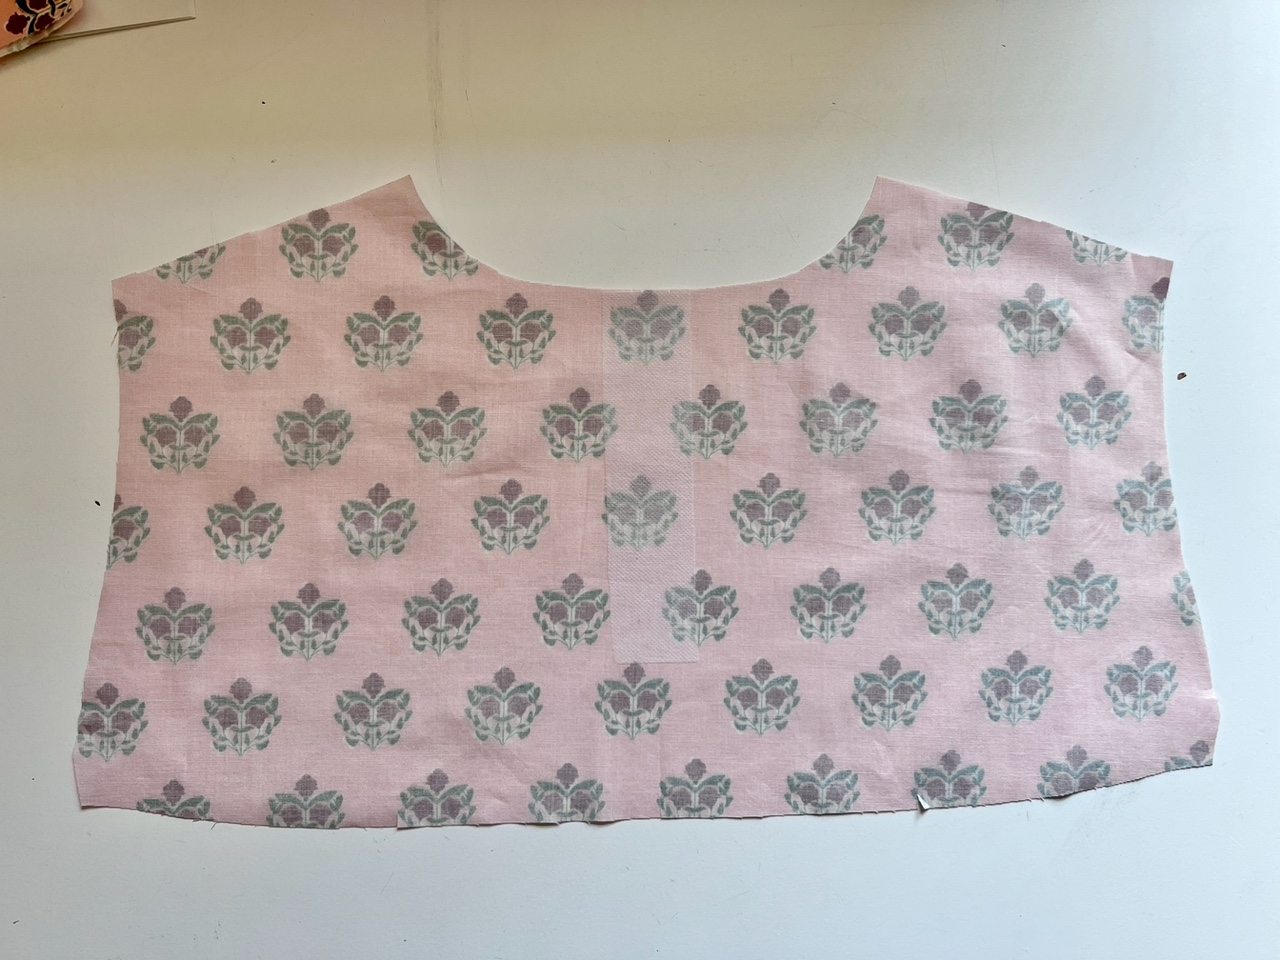
Back yoke with interfacing applied before slit is cut.
I also interfaced both collar pieces and interfaced the whole of the cuff, instead of only half of it. This stops the pattern print from showing through from the underside and gives a little more stability.
Transferring pattern markings
Make sure to transfer all the notches, particularly those on the sleeves. I use a tiny snip (5mm / ¼ inch) to make the notch markings.
Making up the garment
I used a size 80/12 universal needle as the fabric is lightweight.
The seam allowance on the pattern is 15mm (5/8”) except for the neckline when a 10mm (3/8”) seam allowance is used. The pattern states that the seam allowance is 16mm but 15mm is accurate enough for me and easier to measure on the needle plate of your sewing machine.
I edge finished the sleeve seams and side seams with a 3-thread narrow overlocking (serging) stitch. This is my preferred method for overlocking woven fabrics which don’t easily fray. Simply remove and unthread the left needle of your overlocker (serger) to create a narrower stitch.
There’s a really detailed sew along video by Sew House Seven here:
https://www.youtube.com/watch?v=s0gzLjn7uQ0
When creating the back neck ties, I measured the 10mm seam allowance from the folded edge of the fabric instead of the raw edge. I find this gives me a more regular width of tie.
I trimmed the seam allowance a little before turning them to the right side as this makes it easier to turn without all the fabric bulk inside. I also used a loop turner for this process.
I show a couple of method for turning ties in my Vali Dress Sew Along video. Take a look at steps 14 to 16 from 13:33 onwards:
https://www.youtube.com/watch?v=J1iVkHlKSIk
In step 5 where the collar is attached to the neckline, I stitched this in place using a 4mm length stitch and an 8mm seam allowance, so this stitching wouldn’t show when I stitched the facings at the neckline.
When I pinned the neck ties in place, I pinned and stitched these 11mm below the raw edge of the neckline.
When attaching the back yoke facings, it might help to draw the seam line onto the fabric so you can make sure it is symmetrical about the slit opening.
In Step 7a, I used a 4mm long stitch length and 13mm (1/2”) seam allowance. In step 8c I used a 15mm seam allowance and 2.5mm stitch length making sure that the first line of stitching would be hidden. It helps to pin and stitch the pieces together from the side with the original stitching from step 7a. I repeated this process for steps 7b and 8b. The sew along video is really useful if you’re not sure about the ‘burrito method’.
After pressing the yokes, I stitched the yoke and yoke facings together at the armhole edges, using a 4mm long stitch a 10mm seam allowance.
When aligning the sleeves in step 10c, I found that the notches on the sleeves aligned with the yoke seams and not the notches on the armhole.
When you attach the cuffs, check the direction of the fabric print on the cuff and make sure that this won’t be upside down once the cuffs are attached.
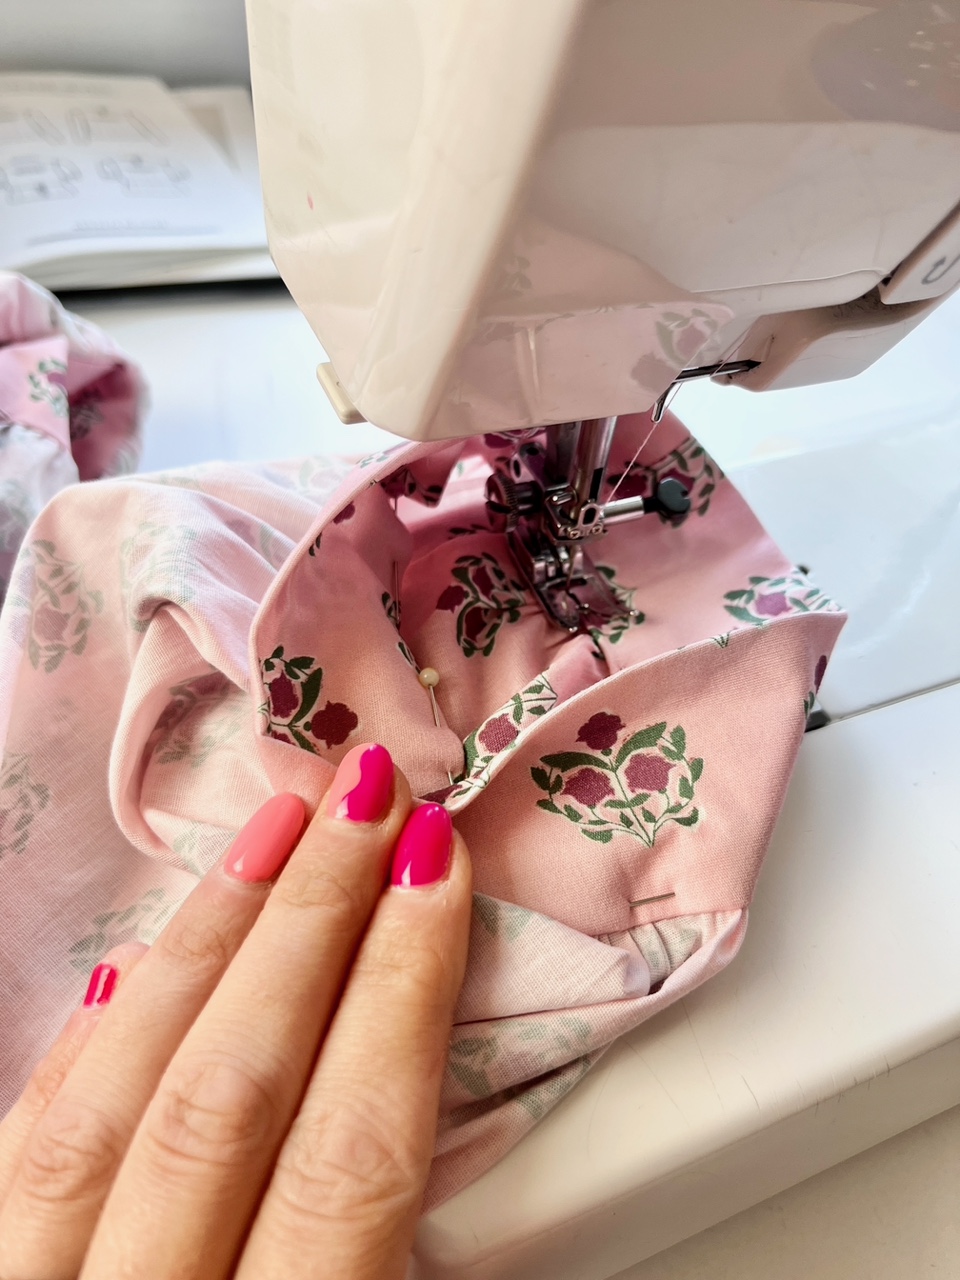
Stitch the cuffs in place from the inside of the tube as it’s easier to fit this under the presser foot, rather than trying to use the free arm on your sewing machine.
More tutorials and videos on techniques can be found at www.houseofmisssew.com or https://www.youtube.com/c/HouseofMissSew/videos
